
How to Create an Entryway When You Don’t Have One: 10 Ideas That Actually Work
You don’t need a foyer to have an entryway. When your front door opens straight into the living room, you just have to build the boundary yourself — with a rug that says “this is the entry,” furniture that does a wall’s job, and a small drop zone that catches keys, shoes, and coats before they colonize your couch.
Start with this: the fastest way to create an entryway when you don’t have one is to layer three things — something on the floor (a rug), something vertical (a console, divider, or hooks), and something above (a light or mirror). Two of those three, and any open-plan space reads as having an entry. Here are 10 ideas that actually work, sized for real apartments and open floor plans.
Measure the Zone Before You Buy Anything
Grab painter’s tape and mark a rectangle on the floor where your entry will live: about 36 to 48 inches deep from the door, and as wide as the space allows. That tape line is your entry’s footprint. Everything you add — rug, console, divider — should fit inside it, and the walkway through it must stay at least 36 inches clear so you’re not squeezing past with groceries. This two-minute exercise prevents the number-one mistake: entry furniture that pinches the doorway and gets shoved against a wall a week later. For a closer look at making every inch count in compact layouts, our small apartment decorating ideas walk through the same space-first approach.
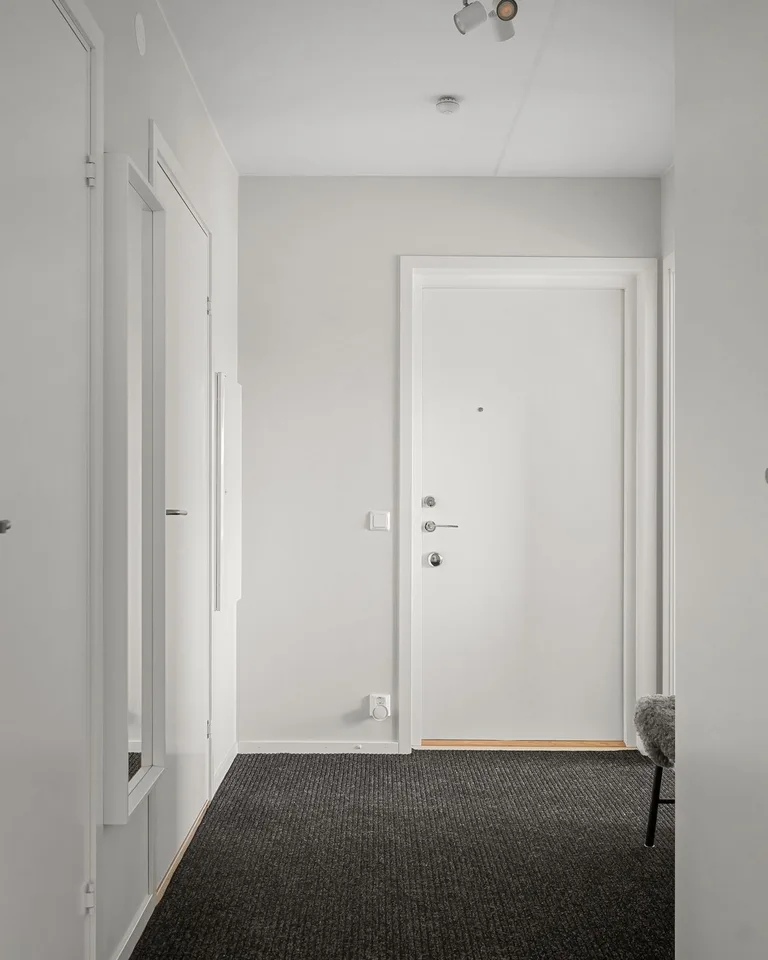
1. Anchor the Zone With an Entry Rug
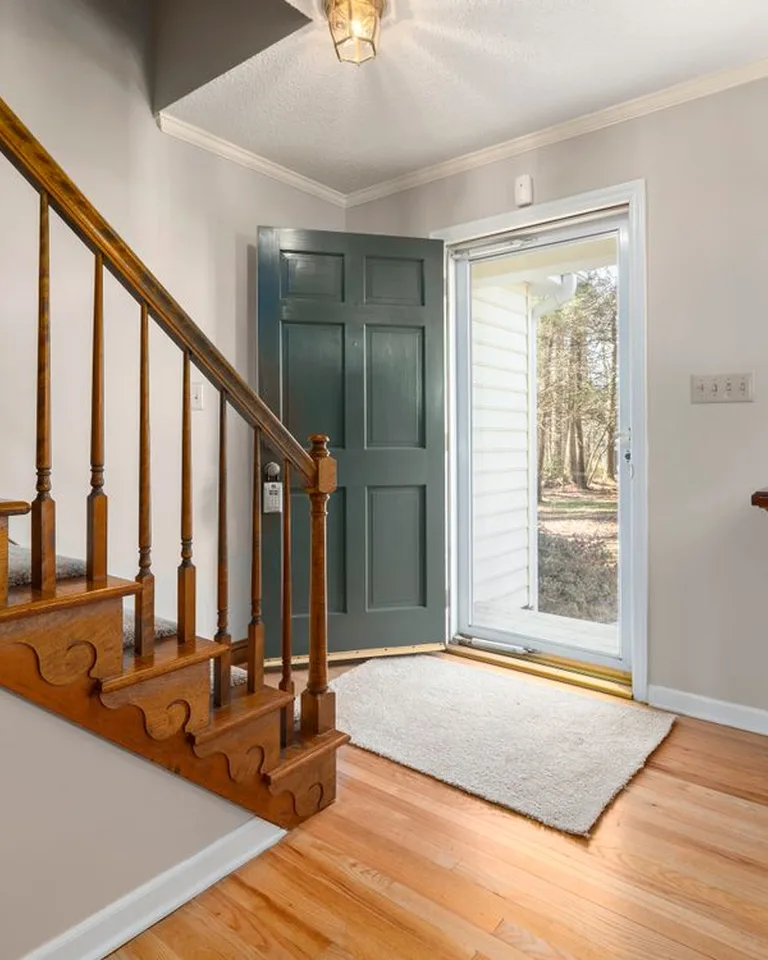
The cheapest, fastest way to create an entryway is a rug. Your eye reads a change in flooring as a change in room, so a rug laid by the door draws a boundary your brain respects even when there’s no wall. Choose a rug that’s distinct from your living room rug — different color, pattern, or texture — so the two zones don’t blur together.
Size matters more than style here. A runner works best when the door opens into a corridor-shaped space; a 4×6 or 5×7 rug fits a wider opening. For durability, pick a low-pile washable rug or indoor-outdoor weave, because this is the spot that collects dirt from shoes. And here’s a designer trick: point a runner into the space rather than along the door, so it leads your eye — and your feet — from the entrance toward the living area, like a visual bridge.
2. Float a Narrow Console Table as Your Landing Strip
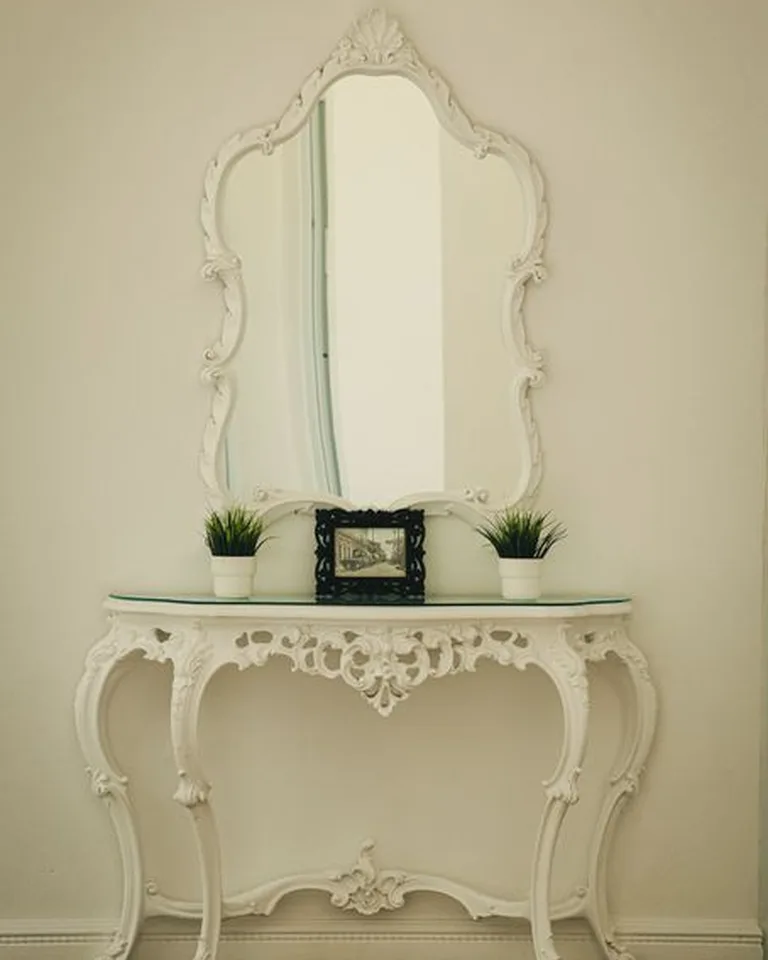
If you can fit exactly one piece of furniture by your door, make it a narrow console table. Placed against the wall nearest the entrance, it instantly creates a focal point that says “entry,” and it gives your hands a landing spot for keys, mail, sunglasses, and the things you always lose.
Give the surface three jobs and nothing more: a small tray for keys, a bowl or basket for mail, and one piece of decor you actually like. That’s it. A console that’s “just decor” becomes a dumping ground within a week, but a console with defined roles becomes a habit. Keep it no deeper than 12 inches if your walkway is tight, and choose a leggy or open-bottom design so the eye travels through it — the piece will feel lighter and block less visual space. This is also where a larger drop-zone strategy starts; our kitchen drop zone ideas use the same tray-and-basket logic that works by the front door.
3. Go Vertical With a Slim Coat Rack

When floor space is nearly zero, the walls are your entryway. A wall-mounted row of hooks or a slim freestanding coat rack gives coats, jackets, and scarves a home without eating a single square foot of floor. Mount hooks at staggered heights — adult coats up high, kids’ gear and handbags lower — and the rack suddenly serves the whole household.
Keep the hook count honest: if four people live there, you need more than three hooks. The magic number is one hook per person for the coat of the day, plus one spare for guests. Anything beyond that becomes a closet wall, not an entry. If you rent and can’t drill, a tension-mounted or freestanding rack does the same job with zero holes — see the renter-friendly tricks in our apartment entryway ideas for more no-damage solutions.
4. Let an Open Bookshelf Play Wall

The closest thing to building a foyer without construction is a shallow, open bookshelf placed perpendicular to your door’s path. It screens the entry from the living area, blocks the direct sightline in, and gives you a surface for keys and a plant — all while letting light pass through. It’s a divider, not a wall, which keeps the open-plan airiness intact.
Style it like a divider, not a storage unit: keep the bottom shelf closed (baskets hiding shoes and everyday bags) and the top shelf open and light (a plant, a framed print, a small lamp). A 10-to-12-inch-deep shelf is plenty; anything deeper starts reading as furniture against the wall. Face the finished side toward the door so guests see an intentional vignette, not the backs of books.
5. Unfold a Room Divider or Screen
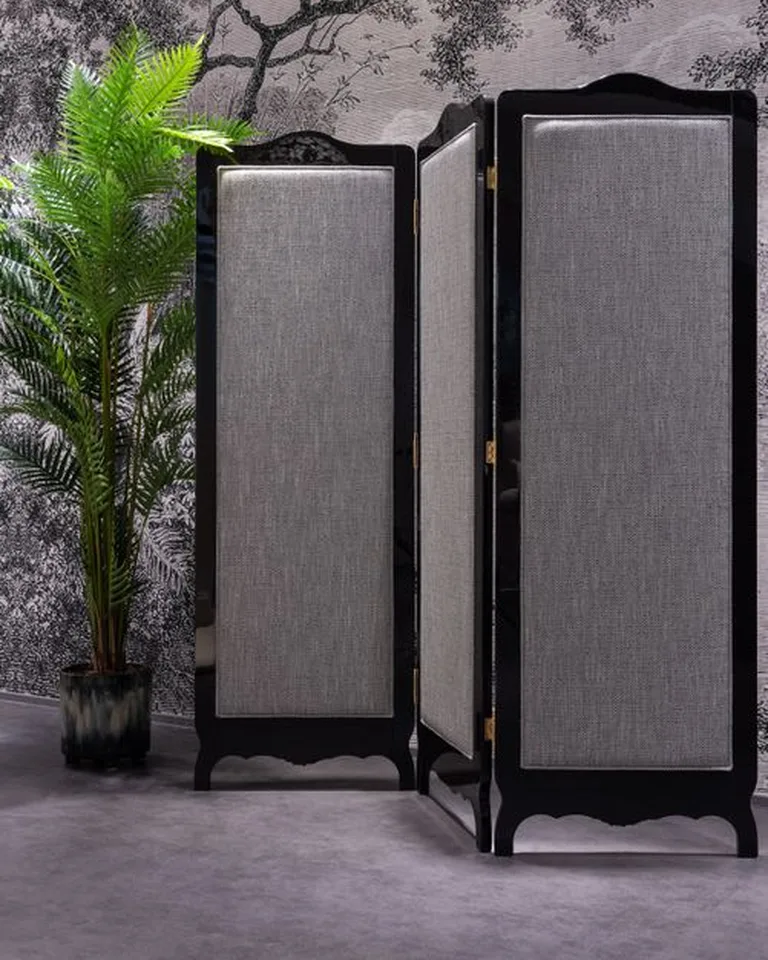
A folding screen or slatted room divider is the classic no-foyer fix: one move creates privacy, a visual boundary, and a backdrop for your hooks or console. For the illusion to work, the divider needs nearly full height — a screen that stops at 5 or 6 feet reads as decoration, not architecture. Slatted or cane designs are ideal because they screen the door’s immediate zone without blocking light.
Position it about 3 to 4 feet from the door, angled so it shields the entry but doesn’t fence you in. Weight or stabilize the base so it can’t tip when someone bumps it with a bag. Renters, take note: tension-pole floor-to-ceiling dividers press into place with padded feet — no screws, no damage, and they read like a real wall.
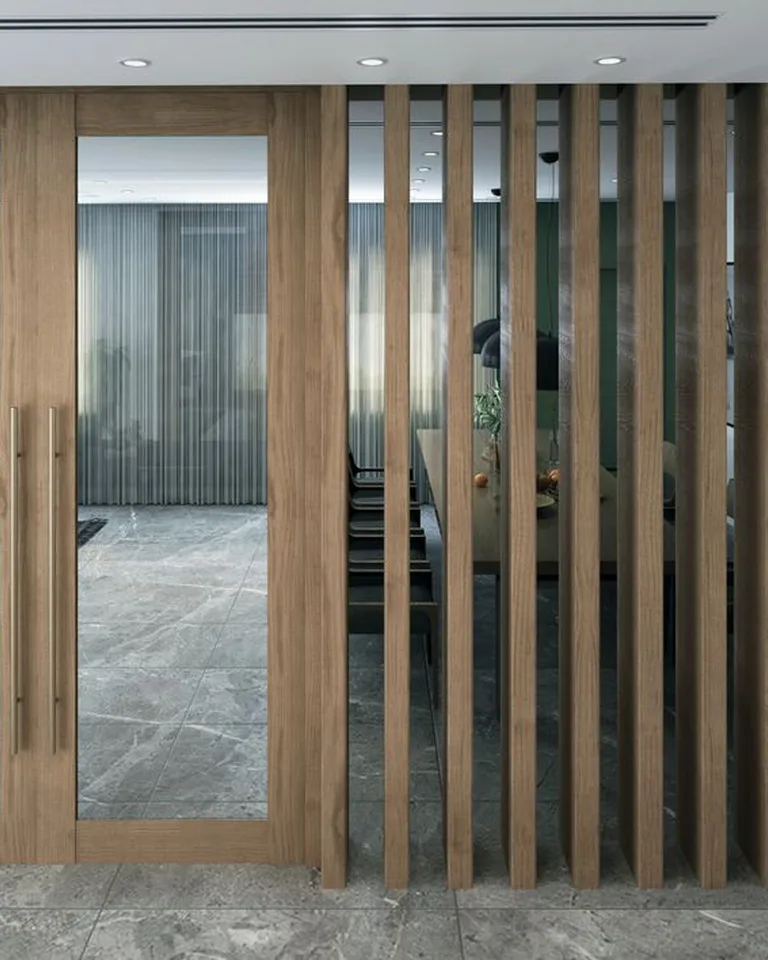
6. Color-Block the Entry Wall With Paint

Paint is the cheapest entryway you’ll ever buy. Painting the wall area around your door — a solid block of color, a wainscot-height band, or a full accent wall — visually separates the entry from the rest of the room at a glance. Your eye registers the color change as a room change, which is exactly what a foyer does with walls.
Pick a color with contrast against your main living room walls: a deep green or warm terracotta against white, or a moody navy in an all-neutral home. If you can’t paint (renters), peel-and-stick wallpaper or even a large piece of art hung low and wide creates a similar color block. Keep the painted zone tight — roughly the width of your entry rug plus a foot on each side — so it reads as a deliberate zone, not an unfinished wall.
7. Crown the Zone With Dedicated Lighting
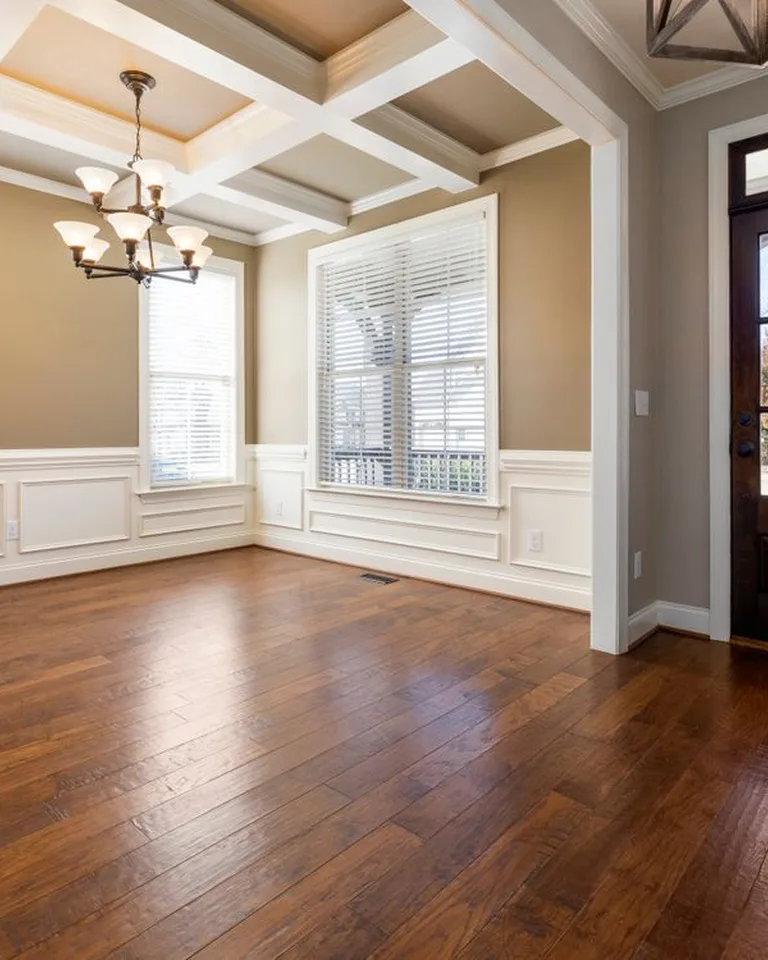
Nothing says “this is a separate space” like its own light. A pendant, flush-mount, or semi-flush fixture hung directly over your entry rug creates a canopy of light that marks the zone the moment you walk in — even in a completely open room. It’s the one trick that works purely on atmosphere.
Choose a fixture that’s distinct from your living room lighting: if the living room has recessed cans, hang a sculptural pendant by the door. Hang it 7 feet above the floor (or 30–36 inches above a console if it’s centered over one). No ceiling outlet? Battery-operated sconces flanking a mirror or art achieve the same zoning effect with zero wiring — and our hallway lighting ideas roundup has more ways to layer light in tight passages.
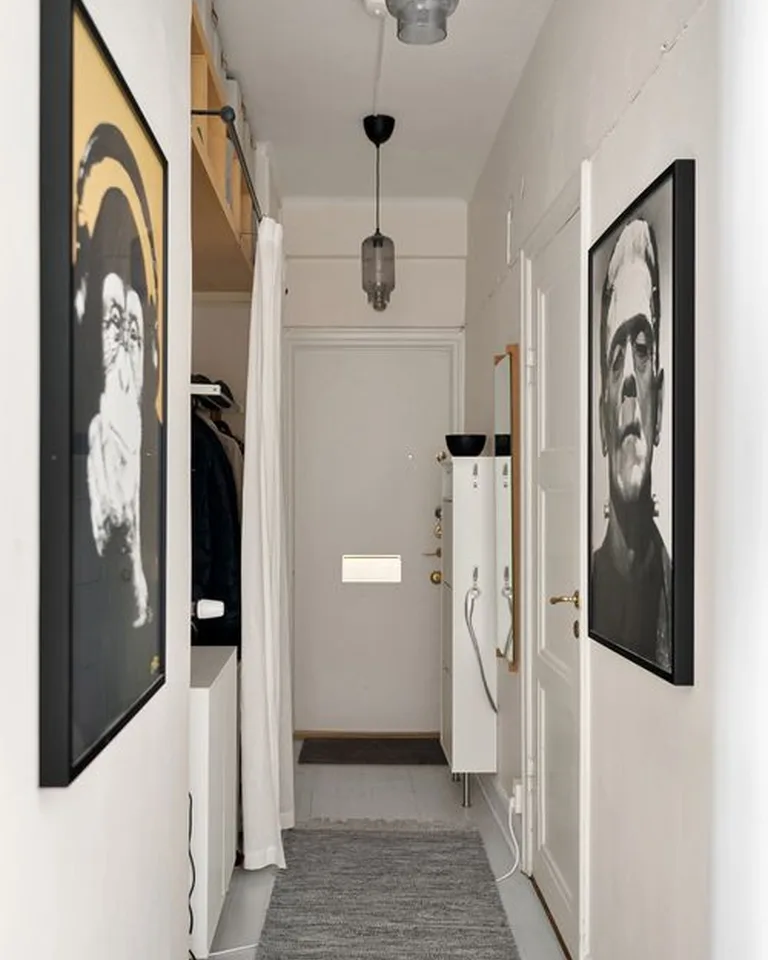
8. Hang a Mirror to Bounce Light and Mark the Spot
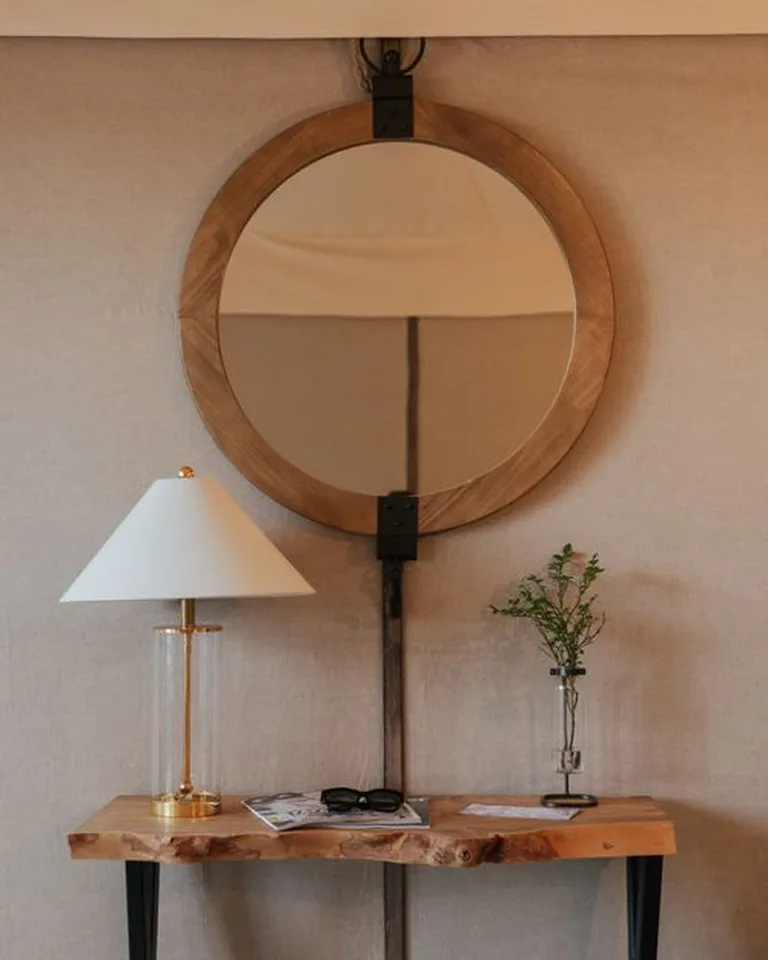
A mirror hung above your console or floating shelf does triple duty: it gives you a last-check-before-you-leave spot, it bounces window light deep into the entry, and it turns the wall above the landing zone into an intentional composition. That composition is what makes the area feel designed rather than accidental.
Size the mirror to roughly two-thirds the width of the furniture below it, and hang it so the center sits at eye level (about 57–60 inches from the floor). If the mirror sits directly across from or perpendicular to a window, it doubles the daylight in the zone and makes the entry feel twice as big. A round mirror softens all the hard rectangles of consoles and dividers; a tall arch mirror adds height to low-ceilinged entries.
9. Mount a Floating Shelf Catch-All
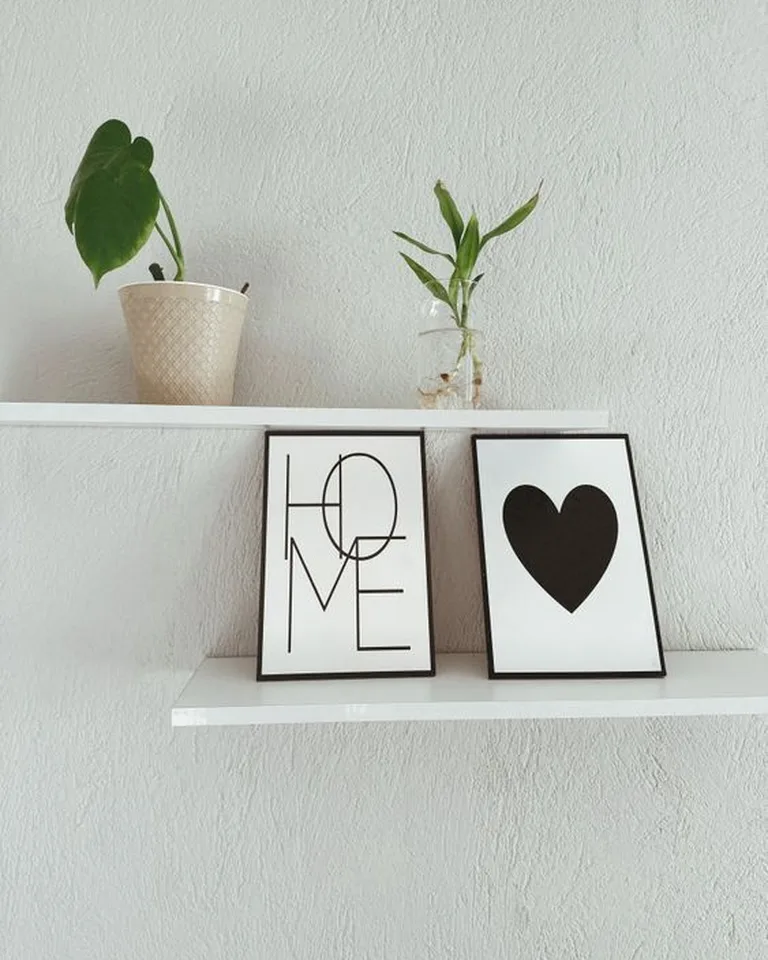
When you have the wall but not the floor — the classic studio or micro-apartment scenario — a floating shelf becomes your entire entry. One 24-to-36-inch shelf mounted near the door holds a key bowl, a mail slot or tray, and sunglasses, while hooks or a small mirror above it complete the station. It projects only 6 to 8 inches from the wall, so it works in passages where even a slim console won’t fit.
Mount it at counter height (36 inches) so it’s a natural reach when you walk in, and keep the top almost empty: a shelf that holds twelve things is a junk shelf, not a drop zone. If you need a bit more, stack two short shelves — one for the daily essentials, one for a plant or art that makes the corner feel finished. For more ways to think vertically in compact rooms, see our pegboard ideas for every room — a pegboard panel above the shelf adds flexible hook storage with zero extra footprint.
10. Add a Dedicated Bag-and-Hat Rack
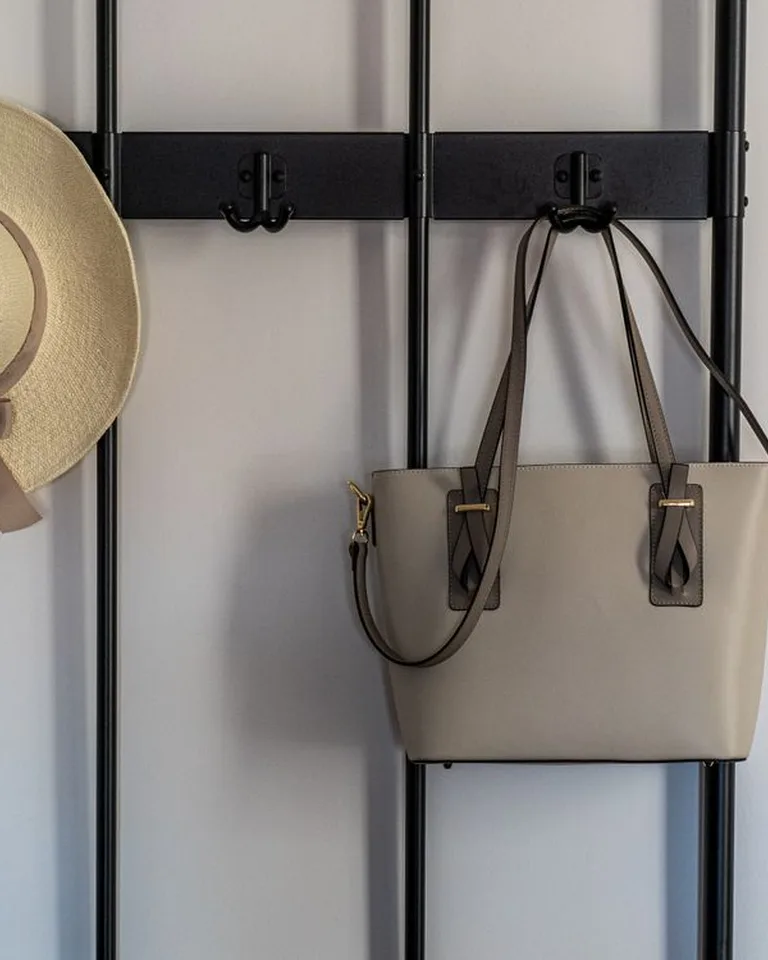
Coats have hooks — but where do the handbags, hats, and everyday totes live? A small dedicated rack for bags and hats keeps them off the couch, off the dining chairs, and within arm’s reach of the door. It’s the detail that makes an improvised entry feel considered rather than cobbled together.
Mount it at bag-hanging height (about 48–54 inches) on the sliver of wall between the door and the living area, or on the back of a closet door if wall space is gone. One sturdy rack with 3 to 4 hooks handles the daily rotation; keep seasonal bags stored elsewhere so the rack stays a grab-and-go station. If you already have a full mudroom-style setup in the garage, you can scale this down — our garage mudroom ideas show how the same station works with more square footage.
Keep It Edited: The One-Rule Entry
Every idea above works only if the entry stays curated. The one rule: each item in your entry zone must earn its spot — if you didn’t touch it today or yesterday, it doesn’t belong by the door. Run a 60-second nightly reset: shoes in the basket, mail in the tray, coats on their hooks. A five-piece entry that stays tidy looks and feels a hundred times more like a real foyer than a fifteen-piece one buried in clutter.
How do you create an entryway if you don’t have one?
Layer three things: something on the floor (a rug to draw the boundary), something vertical (a narrow console, hooks, or a divider to act as a wall), and something above (a pendant light or mirror to mark the zone). A rug plus one of the other two is enough for most open-plan spaces to read as having an entry.
Can you make an entryway in an open floor plan?
Yes. In an open floor plan, use visual cues instead of walls: a rug distinct from your living room rug, an open bookshelf or slatted divider placed perpendicular to the door’s path, and dedicated lighting over the entry zone. These create a transition from outside to inside without closing off light or air.
How do you create an entryway in a small or narrow space?
In tight spaces, go vertical and shallow: wall hooks for coats, a 6-to-8-inch-deep floating shelf for keys and mail, and a runner rug instead of a full area rug. Keep the walkway at least 36 inches clear, and choose leggy or open-bottom furniture so the eye travels through it.
How can lighting be used to define an entryway?
A dedicated fixture — a pendant, flush-mount, or pair of sconces — hung directly over the entry zone creates a canopy of light that visually separates it from the surrounding room. Pick a fixture distinct from your living room lighting so the change reads as a zone change. Battery-operated sconces work when there’s no ceiling outlet.