
12 One-Wall Kitchen Upgrades That Look Custom (No Renovation Needed)
A one-wall kitchen has a design advantage most people miss: because everything sits on a single plane, one good upgrade makes the entire wall look intentional. You don’t need a full renovation to get the custom look — targeted changes to the backsplash, hardware, lighting, and counters can transform a flat builder-grade run into something that looks designed. Here are 12 upgrades that deliver the custom feel without tearing anything out.
1. Run a Full-Height Slab Backsplash
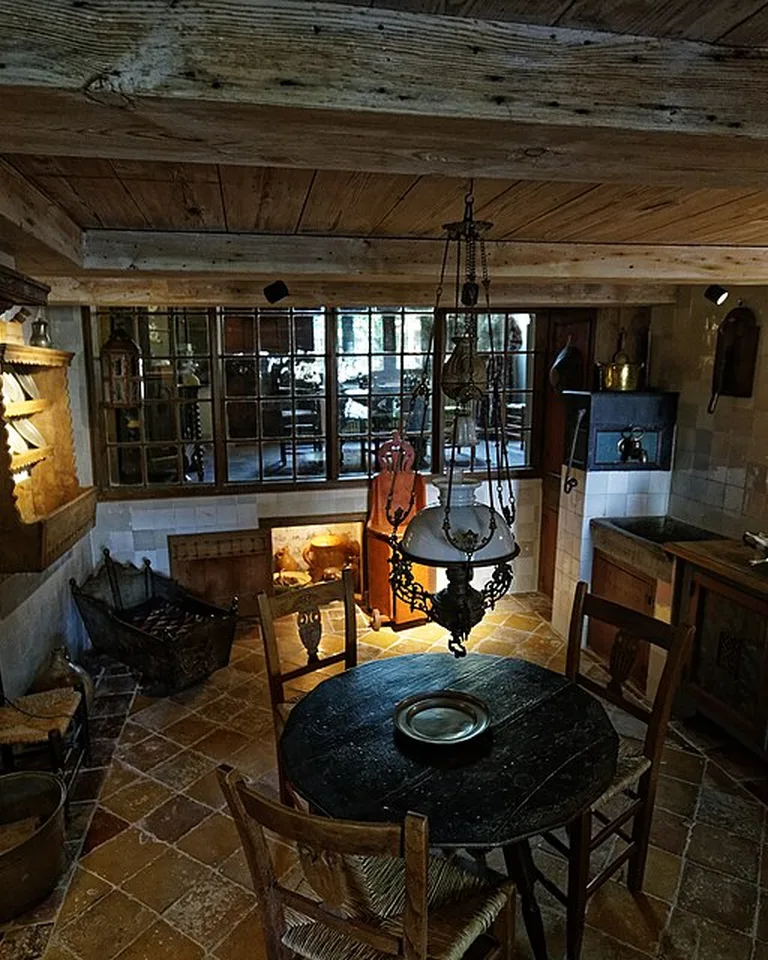
Nothing signals luxury in a one-wall kitchen like a backsplash that runs all the way to the ceiling or the underside of the uppers in one continuous surface. You don’t need a single slab of marble — quartz remnants, large-format porcelain, or sealed stone panels deliver the same seamless look for a fraction of the price. Because a one-wall kitchen’s backsplash is a narrow band, remnant pieces from stone yards often cover the whole run. The result is soft, cohesive, and unmistakably modern — no grout lines chopping the wall into tiles.
2. Swap Cabinet Hardware for Unlacquered Brass
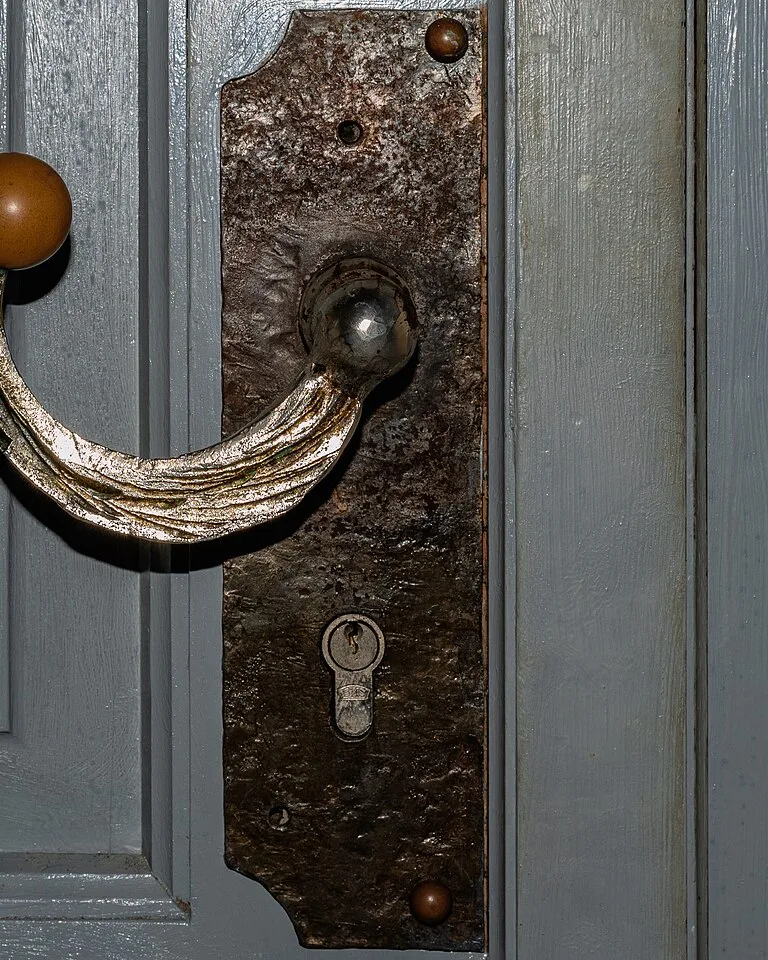
The fastest renter-friendly upgrade in any kitchen is hardware. Swap builder-grade knobs for unlacquered brass pulls or knobs — the metal darkens and develops a patina over time, giving an authentic vintage feel that chrome never will. Measure hole spacing before ordering (common sizes are 3-3/4 and 5-1/16 inches) and keep the originals in a labeled bag for move-out. Brass works best against white, cream, or natural wood cabinets; skip it if your finishes are cool-toned chrome or brushed nickel, because mixing metal temperatures on one wall reads as accidental rather than layered. If you’re mapping out a bigger budget refresh first, these budget kitchen remodel ideas will help you sequence the work.
3. Frame the Range Hood Like a Picture

The range hood is usually the visual center of a one-wall kitchen, for better or worse. Boxing it in with a simple picture-frame surround — trim molding painted the same color as the cabinets, or a contrasting panel — turns a utilitarian vent into a deliberate focal point. It’s a weekend carpentry project with outsized payoff: the framed hood anchors the whole wall and makes everything around it look more finished. If your hood is an over-the-range microwave, the same trick works with a shallower frame.
4. Hang One Oversized Pendant

A single large pendant over the counter delivers more drama than three small ones and costs less. It draws the eye up, gives the wall a centerpiece, and throws functional task light where recessed cans can’t reach. A big paper globe, a woven rattan shade, or an oversized glass dome all work — pick one that clears the uppers by at least 6 inches so the scale reads intentional. Dimmer switch is non-negotiable: bright for prep, low for evenings, and the whole kitchen looks expensive at both settings.

5. Replace Laminate Counters With Butcher Block
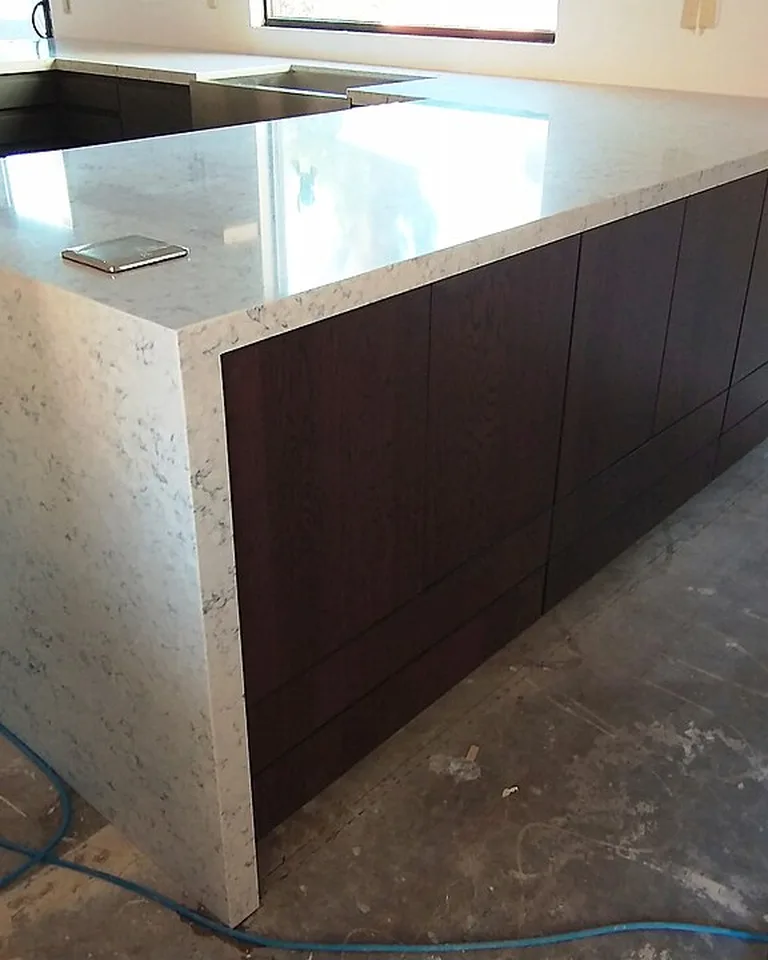
In a one-wall kitchen the counter is always the star of the show — it’s the longest unbroken surface in the room. Swapping tired laminate for butcher block brings instant warmth and a custom feel at a fraction of stone’s price. Seal it with food-safe oil on a schedule and it’ll handle daily prep for years; keep it away from standing water at the sink, where laminate or solid surface performs better. The warmth of wood against painted cabinets is the single biggest “custom kitchen” signal you can buy, and the same material warmth carries into these natural wood kitchen cabinet ideas.
6. Build a Shallow Open Shelf Above the Backsplash
Where there’s no room for another cabinet, a slim floating shelf above the backsplash adds storage and a designed moment in one move. Style it with your best-looking everyday items — matching bowls, glass jars, a small plant — and keep the clutter in the closed cabinets below. A warm oak or walnut shelf against painted tile reads high-end even when the shelf itself came from a big-box store. Limit it to one or two shelves; more than that and the wall starts to feel busy.
7. Paint the Lowers Dark, Keep the Uppers Light
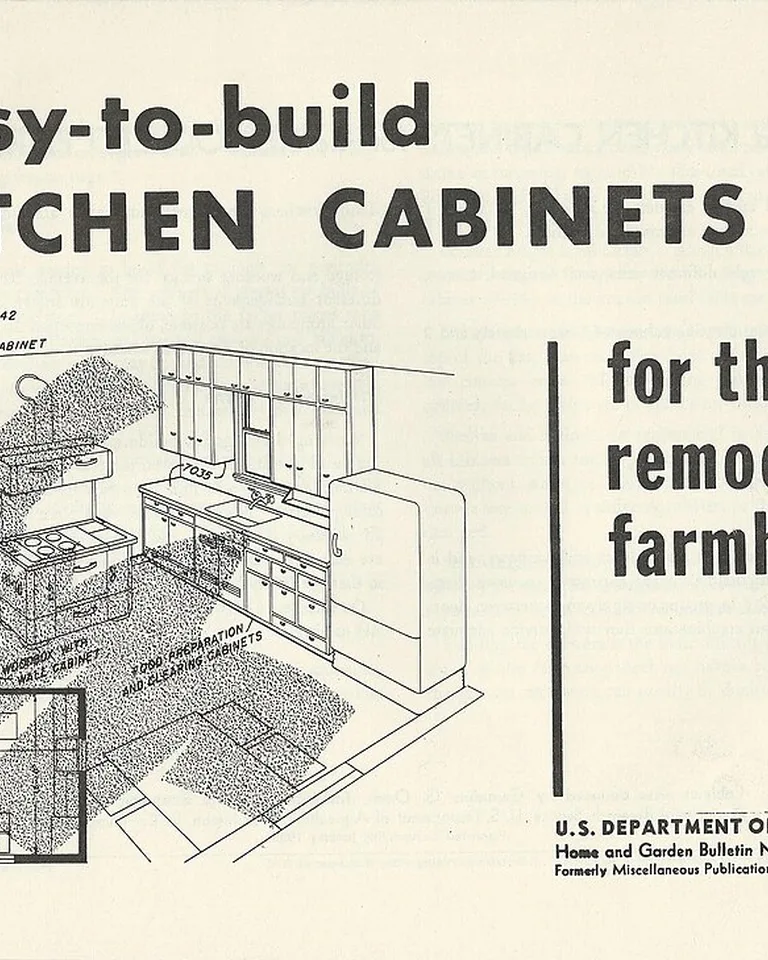
Two-tone cabinets are the fastest way to make flat stock cabinetry look like a design decision. Paint the base cabinets a grounded color — deep green, navy, warm charcoal — and keep the uppers white or cream so the wall doesn’t close in. The contrast creates visual architecture on a wall that otherwise reads as one long box. Use a proper cabinet enamel and do the prep (degrease, sand, prime); the finish is what separates a custom look from a craft project. Renters: removable cabinet decals or contact paper in a wood tone can fake the effect on a few door fronts — and this is one of several reversible ideas in our renter-friendly upgrade playbook.

8. Add Fluted Panels to the Exposed Cabinet End
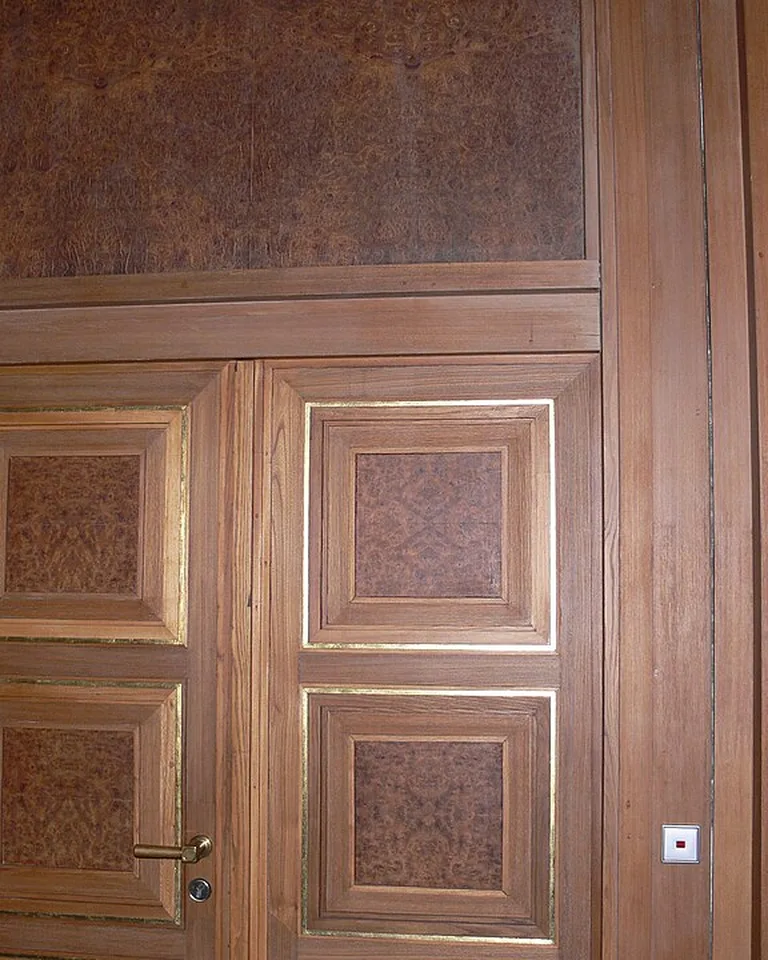
The exposed end of a one-wall run is usually the saddest surface in the kitchen — a flat slab of cabinet side. Cladding it with fluted wood panels or peel-and-stick slats gives it furniture-grade texture in an afternoon, and the renter-friendly versions come off cleanly. Fluted panels catch light and shadow in a way flat paint never does, which is exactly why they read as custom millwork. Match the panel finish to your shelf or butcher block for a coordinated look.
9. Upgrade to a Bridge Faucet With a Matching Soap Dispenser
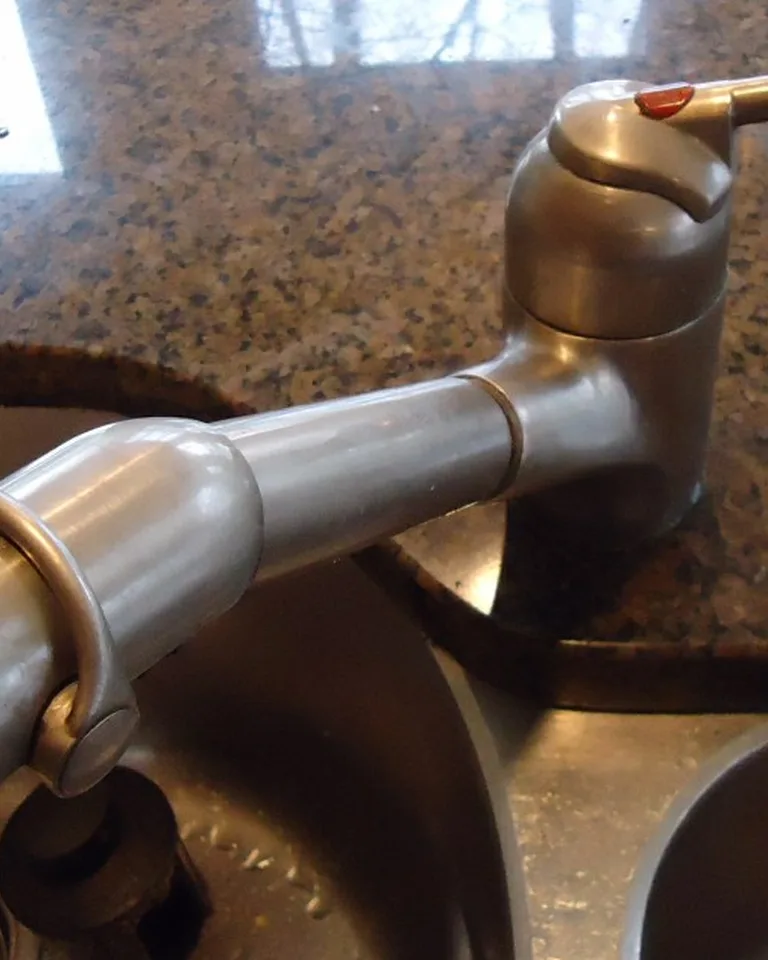
The faucet is the piece of jewelry on a one-wall kitchen — it’s at eye level in the middle of the wall and everyone notices it. A bridge faucet with a matching soap dispenser reads bespoke in a way a standard single-handle never will. It’s a two-hour DIY swap for most people (shut the valves, photograph the connections, work slowly), and it modernizes the sink zone instantly. Match its finish to your new hardware so the metals on the wall feel coordinated, not collected.
10. Lay Peel-and-Stick Tile as a Renter-Safe Backsplash

Modern peel-and-stick backsplash panels have earned their place: subway, herringbone, and faux-marble options look convincingly real from two feet away, they’re moisture-resistant, and they come off with a hair dryer and patience. In a one-wall kitchen the installation is a single afternoon because the area is small. Clean the wall thoroughly first and use a level — the difference between a convincing install and an obvious one is straight lines and tight seams. Pair it with the hardware swap above and the wall transforms for under a hundred dollars, no grout involved. More reversible kitchen moves live in these renter-friendly laundry upgrades too — the same low-commitment logic applies across rooms.
11. Roll In a Slim Cart as a Movable Island
One-wall kitchens are always short on landing space. A 12-to-18-inch deep rolling cart parks against the wall when you’re not cooking and rolls out as a prep station, serving cart, or bar when you are. A butcher-block top on the cart echoes a wood counter and gives you a second work surface; a lower shelf holds the stand mixer or the stockpot you use weekly. It also breaks the visual line of the wall in a good way, making the kitchen feel like a room rather than a corridor fixture. Give the cart a dedicated home base — a corner near the fridge — so it doesn’t become hallway clutter.
12. Define the Zone With a Washable Runner

The final move costs the least and finishes the room: a washable runner along the cabinet run. It grounds the wall, adds pattern or color at floor level where the kitchen otherwise has none, and protects the flooring in the highest-traffic strip of the house. Choose a low-pile, machine-washable rug — kitchen runners earn their keep in spills — and size it to run nearly the full length of the cabinets for the strongest effect. This is the same zone-defining trick behind a good entry setup, like these kitchen drop-zone ideas for the stretch of wall where cooking meets coming home. And if you’re weighing the overall layout first, our one-wall kitchen ideas roundup covers the planning side before you spend a dollar.
FAQs
What is the most cost-effective way to upgrade a one-wall kitchen?
Start with lighting and the backsplash. LED under-cabinet task lighting plus a simple glass, tile, or peel-and-stick backsplash delivers the biggest visual change per dollar while keeping the layout untouched. Hardware is the close third — swapping cabinet pulls and the faucet modernizes the whole wall in an afternoon.
How can I add storage to a one-wall kitchen without a full remodel?
Go up and go inside the cabinets you already have. Add full-height or shallow open shelves on bare wall sections, use interior organizers — pull-outs, tiered racks, door-mounted spice racks — to multiply what your existing cabinets hold, and park a slim rolling cart against the wall for overflow prep and pantry items.
Which finishes make a small one-wall kitchen feel bigger?
Light-reflective surfaces: a glass or glossy backsplash, satin-finish paint, and a high-LRV (light reflectance value) ceiling bounce light around the room. Keep upper cabinetry shallow or swap some uppers for open shelves to open the sightlines, and run one consistent finish along the wall so it reads as a single intentional plane.
Is butcher block a good budget countertop choice?
Yes, for warmth and value — it’s beautiful, practical, and far cheaper than stone. Maintain it with food-safe oil on a regular schedule, and keep it in low-splash zones: around the sink, choose laminate or solid surface instead, since standing water shortens butcher block’s life. It’s one of the strongest “custom kitchen” signals you can buy on a budget.
How much should I budget for a small one-wall kitchen refresh?
For cosmetic upgrades — paint, hardware, lighting, backsplash — a common rule of thumb is 5 to 10 percent of your home’s kitchen value, but most one-wall refreshes land well under a few thousand dollars because the footprint is small. Spend first on what you touch daily (faucet, counters, lighting) and last on pure decoration.