
15 Renter-Friendly Bathroom Makeover Ideas That Need No Contractor
A rental bathroom usually fails in the same five places: sad flooring, a builder-grade mirror, a shower curtain that has seen things, tired hardware, and lighting that flatters no one. The good news is that none of those require a contractor, a permit, or your landlord’s blessing — they are all surface-level, and every one of them can be reversed in an afternoon when your lease ends.
The short answer: the highest-impact renter-friendly bathroom makeover is a peel-and-stick floor tile refresh plus a removable wallpaper accent wall, layered with swapped hardware, a new showerhead (original kept in a labeled bag), and warm lighting upgrades. That combination costs $250–$500 in materials, takes one weekend, and reverses completely at move-out. The 15 ideas below are ordered from biggest transformation to quickest win, each with a realistic cost, time estimate, and deposit-safety note.
The 4 Renter Rules Before You Touch Anything
Every idea below is designed to be removable — but “renter-friendly” still has rules, and following them is what keeps your deposit intact.
1. Photograph everything first. Take dated photos of the floors, walls, fixtures, and hardware before you change a thing. When you move out, those photos are your restoration blueprint.
2. Keep every original in one labeled bag. Showerhead, cabinet knobs, towel bars, light bulbs — each goes into a zip bag with a label and lives under the bed until move-out day. Reinstalling originals is the single most reliable way to get your full deposit back.
3. Know the permission ladder. Truly removable items (rugs, over-door hooks, tension rods, freestanding storage) need no permission. Anything adhesive — peel-and-stick tile, wallpaper, contact paper — deserves a quick written ask, because a strong adhesive on old paint can pull finish when removed. Anything touching plumbing or electrical (faucets, light fixtures) needs explicit written permission, no exceptions.
4. Respect the moisture rule. Bathrooms are wet rooms. Only use products rated for humidity — “waterproof” or “bathroom-safe” peel-and-stick, mold-resistant sheets, rustproof metals. A beautiful upgrade that traps moisture behind it becomes a deposit deduction.
With that settled, here are the 15 upgrades, from biggest payoff to quickest win. For broader budget thinking across the whole room, our small bathroom ideas on a budget pair well with everything here.
1. Peel-and-Stick Floor Tiles in a Marble Look
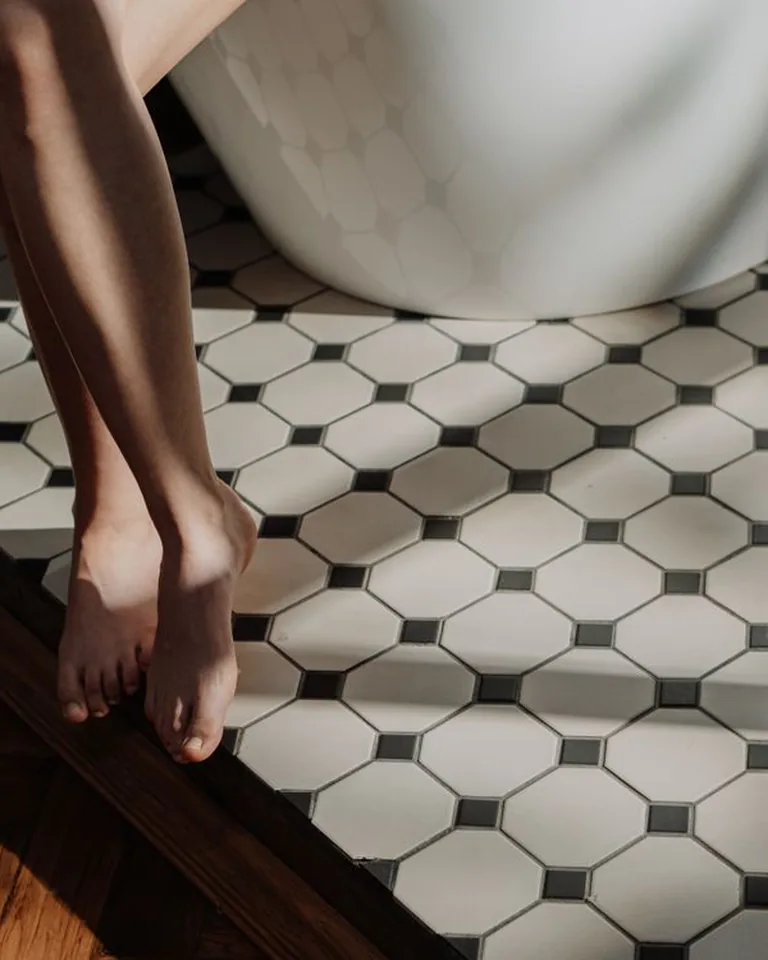
This is the single most transformative move on the list. Dated beige or cracked vinyl flooring dominates a small bathroom visually, and marble-look peel-and-stick tiles cover it completely for roughly $1–$2 per square foot — a typical rental bath needs $60–$120 in tiles and an afternoon of work. Cost: $60–$120. Time: 2–3 hours. Deposit safety: high (ask first on very old floors).
The technique matters more than the tile. Clean and fully dry the existing floor, then lay from the center of the room outward so cut pieces land at the edges. Trim with a sharp utility knife and press every seam down with a roller or rolling pin — adhesion failures almost always trace back to skipped seam pressure. Choose tiles with a lightly textured surface so they don’t get slippery when wet, and buy one extra box: replacing a worn tile later is trivial, finding a discontinued pattern is not.
2. A Removable Wallpaper Accent Wall
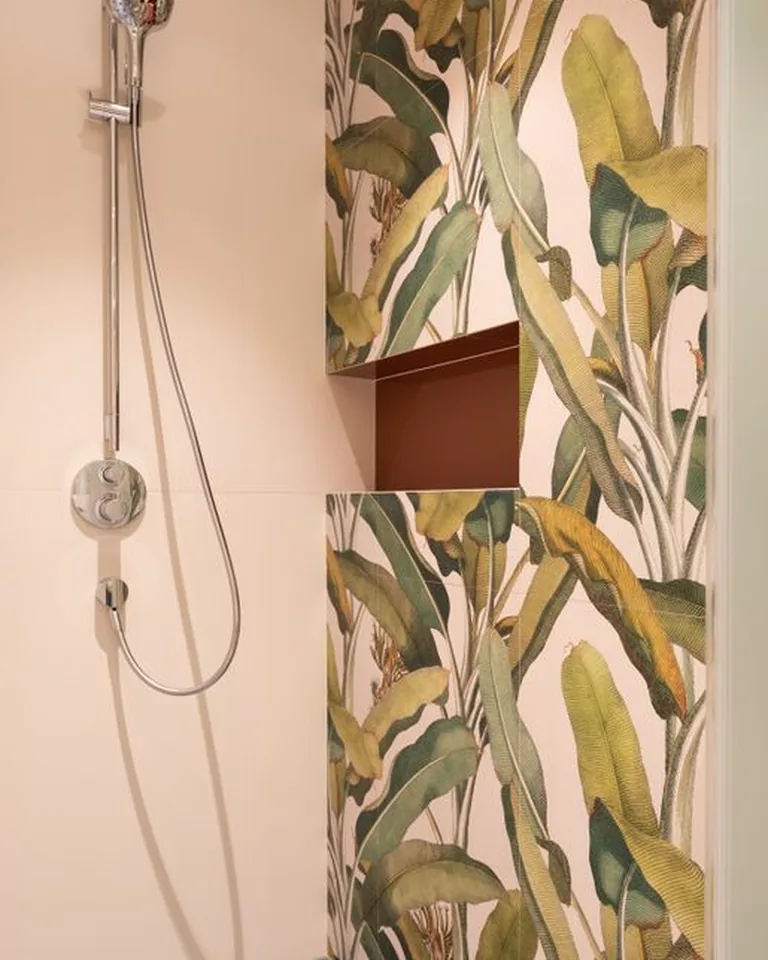
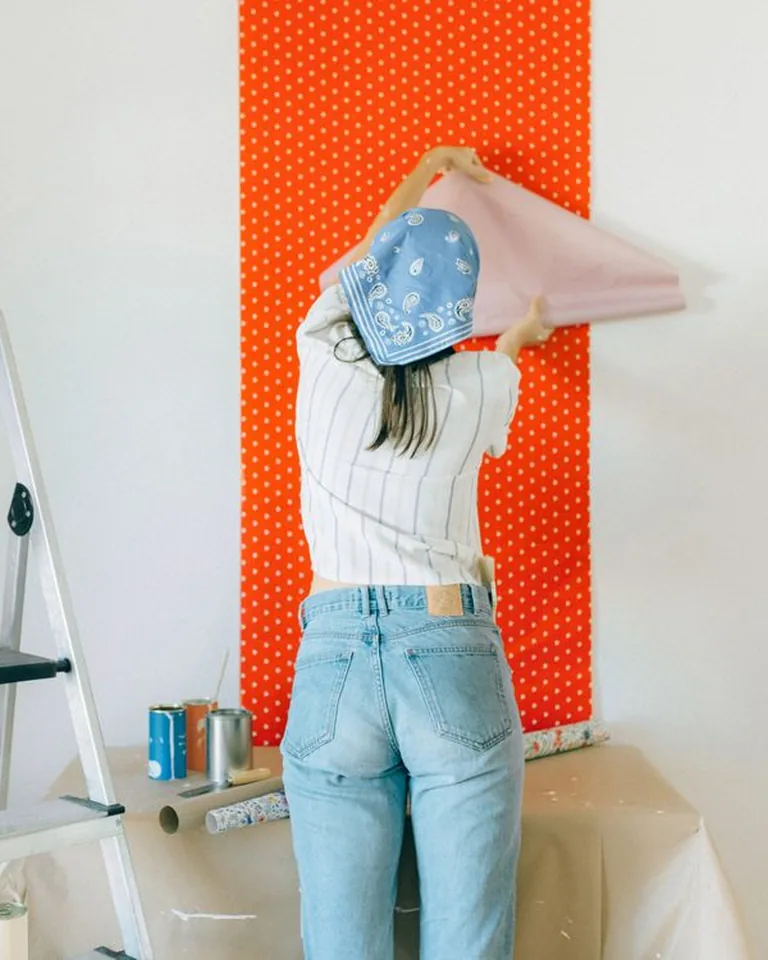
One wall of pattern does what paint does for homeowners: it gives the room an intentional, designed feeling instead of a “landlord white” one. Waterproof vinyl peel-and-stick wallpaper — not the paper-based kind — holds up to bathroom humidity and peels off cleanly. Cost: $40–$90 per wall. Time: 1–2 hours. Deposit safety: medium-high (test a hidden corner first).
Stick to one wall — behind the vanity or the tub is the classic placement — and keep the rest of the room calm so the pattern reads as a feature, not chaos. Smooth bubbles out with a plastic squeegee as you go, trim edges with a straight blade, and always test removal on a hidden patch before committing to the whole wall. Cheaper sheets seam visibly, so spend the extra $10–$15 for a thicker vinyl with a pattern repeat that hides joins. If you’re drawn to deep color, our moody half-bathroom ideas show how dark walls behave in small wet rooms.
3. Peel-and-Stick Backsplash Sheets Behind the Sink
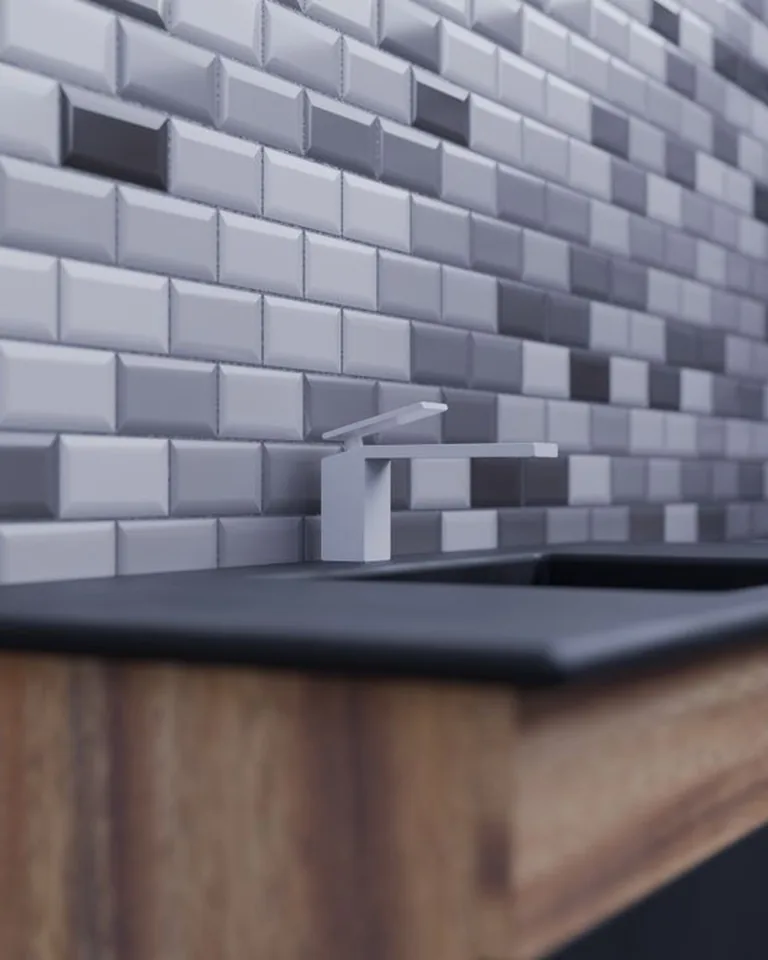
The strip of wall between the vanity and the mirror is prime visual real estate, and in rentals it’s usually blank painted drywall. Faux subway-tile sheets give you the look of a tiled backsplash with zero grout and zero permanence. Cost: $25–$60. Time: 45 minutes. Deposit safety: high.
Measure the area, buy one extra sheet for mistakes, and work top-down, smoothing with a credit card to push out air. Choose a matte finish over glossy — matte reads as real tile, glossy reads as sticker. Look for sheets explicitly labeled mold-resistant and bathroom-safe, since this area takes constant splashes. Where the sheets meet the countertop, a thin bead of removable clear caulk keeps water from wicking underneath.
4. Swap the Showerhead (Keep the Original)
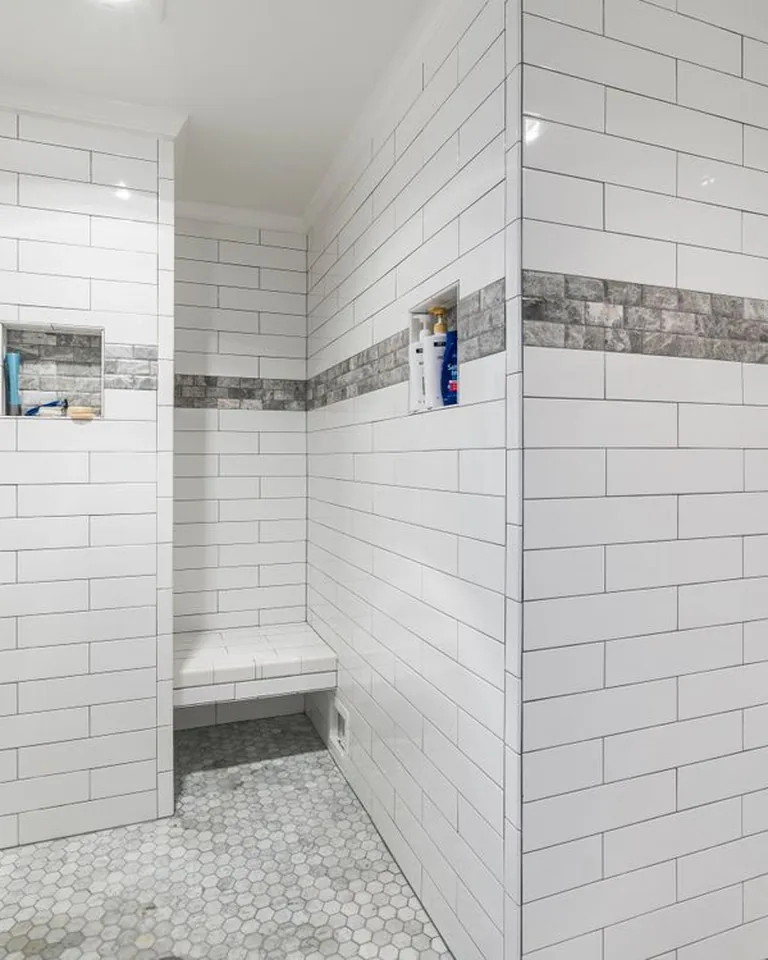
A rental’s original showerhead is usually a low-flow relic that dribbles. A $25–$60 high-pressure handheld model threads onto the existing shower arm with plumber’s tape — no tools beyond your hands — and the difference in your daily shower is immediate. Cost: $25–$60. Time: 15 minutes. Deposit safety: high with written permission (it touches plumbing).
This is the one swap where the “originals bag” rule is non-negotiable: wrap the old showerhead in a towel, bag it, label it, and reinstall it on move-out day. Pick a model with a pause/trickle button — renters love it, and it actually saves water, which is a nice talking point if your landlord asks why you changed it. Handheld-on-a-slide-bar versions are the most versatile because the whole household gets their preferred height.
5. Layer Two Shower Curtains on a Tension Rod
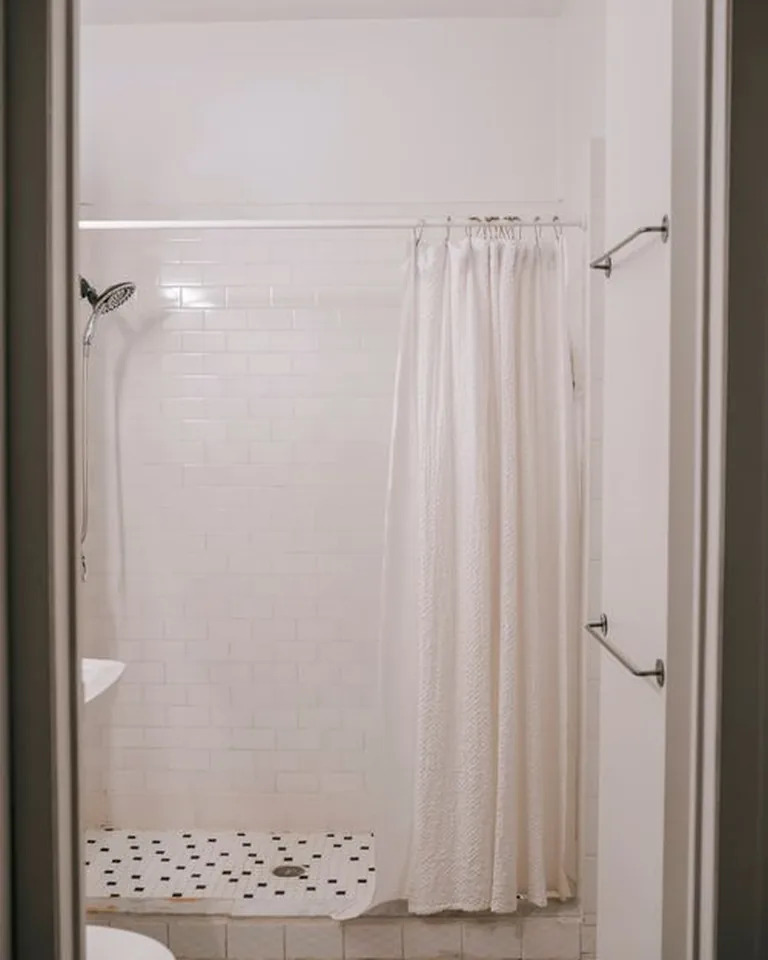
The shower curtain is the largest textile in the room, so it sets the tone more than anything else. Two rods solve the classic rental compromise: one inexpensive tension rod holds a plain waterproof liner inside the tub, and a second rod a few inches higher and further out holds a decorative fabric curtain. Cost: $40–$80 total. Time: 20 minutes. Deposit safety: total — no holes, no adhesive.
Choose thin metal rods with rubber ends; they grip tile and painted walls far better than fat plastic ones. A fabric outer curtain with a weighted hem hangs straighter and looks dramatically more expensive than a vinyl liner doing double duty. For the layered-hotel look, let the outer curtain fall a few inches longer than the liner so the fabric reads as the “real” curtain and the liner disappears.
6. Upgrade the Mirror Without Drilling
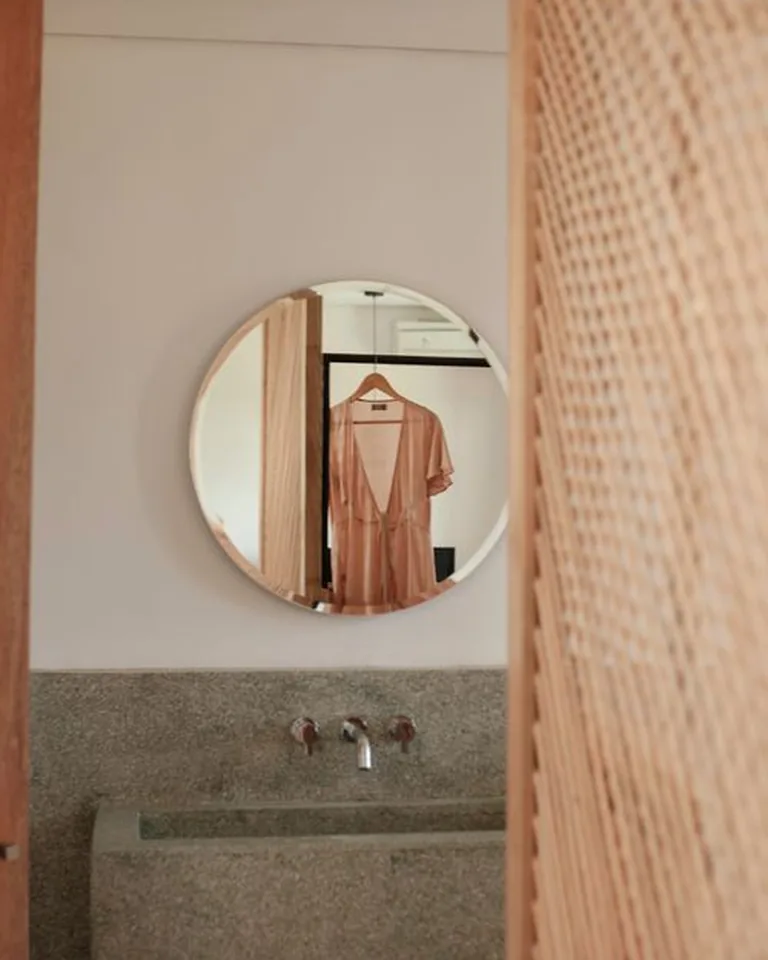
Builder-grade bathrooms come with a flat sheet of mirror glued to the wall — functional, characterless, and impossible to remove without damage. You don’t have to remove it. Hang a framed round or arched mirror over it with heavy-duty bathroom-rated adhesive strips, or build a small gallery of thrifted framed mirrors on the adjacent wall. Cost: $30–$100. Time: 30–60 minutes. Deposit safety: high.
Keep each frame under about 5 pounds so the adhesive rating has real margin, and press strips for the full cure time on the package — usually 24 hours before hanging weight. A round mirror softens the hard rectangle of a rental vanity, while an arched one adds height to a low room. Style the change with better lighting and the whole vanity zone reads renovated; see our bathroom mirror lighting ideas for the lighting half of that equation.
7. Swap Cabinet Hardware and Towel Bars
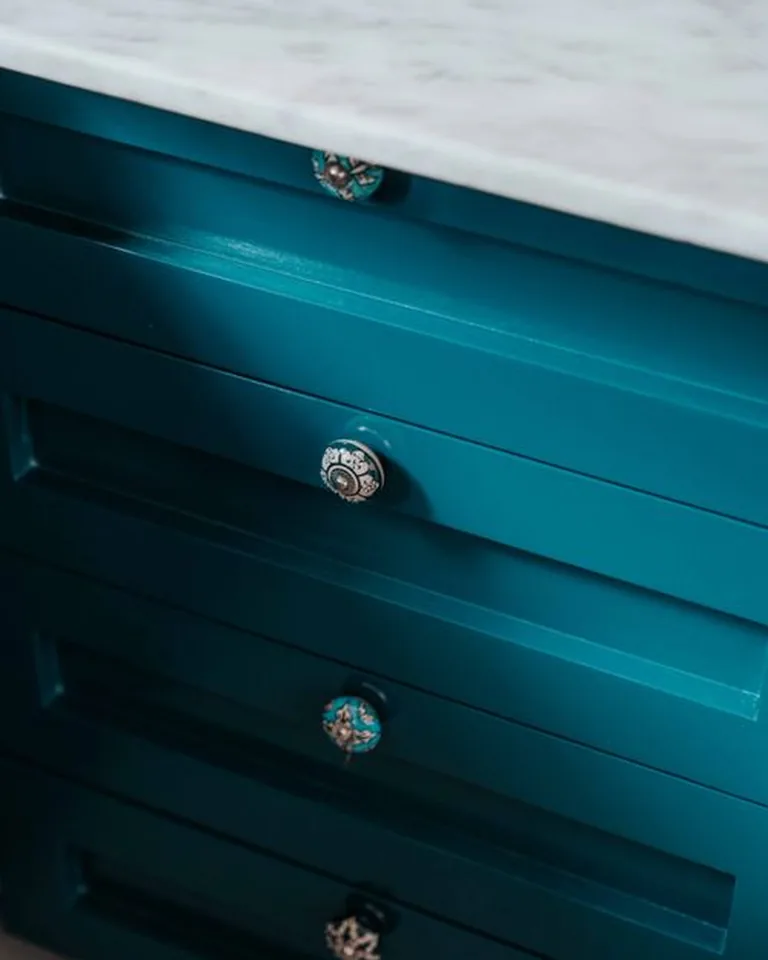
Dated brass or plastic knobs date a vanity instantly; matte black, brushed nickel, or warm brass pulls modernize it in the time it takes to drink a coffee. Same story for the towel bar and toilet-paper holder — they’re almost always held by two screws into drywall anchors, and the replacements use the same holes. Cost: $20–$60. Time: 30 minutes. Deposit safety: high with permission (you’re reusing existing holes).
Measure the hole spacing on your existing pulls before buying — the standard is 3 or 3¾ inches center-to-center, and matching it means zero new holes. Photograph the original configuration, bag every original screw separately from the replacements, and keep the finish consistent across knobs, towel bar, and faucet-adjacent accessories. One mixed-metal rebel piece is a style choice; three is a mess.
8. Refresh the Vanity Top With Countertop-Grade Contact Paper
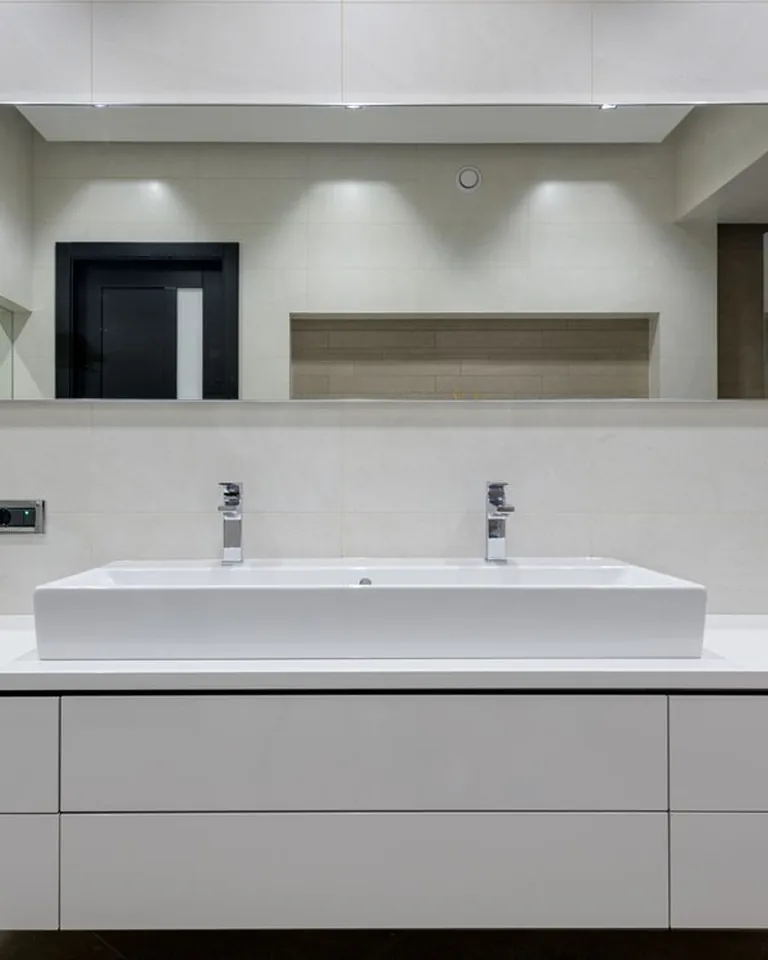
Scuffed, stained laminate counters are a rental signature — and countertop-grade vinyl contact paper covers them for under $30. The countertop-specific rolls are thicker, heat-resistant, and waterproof, which matters inches from a hot styling tool and a splashing sink. Cost: $15–$30. Time: 45–60 minutes. Deposit safety: medium (test a hidden spot; ask if the counter is stone).
Work in small sections, using a hair dryer on low to soften the vinyl around the sink cutout and front edge — heat is what makes the curves lie flat. Pop bubbles with a pin and smooth them out rather than lifting and resticking, which stretches the print. Marble and light-stone patterns hide seams best; solid colors show every overlap. Keep a scrap roll for patching nicks, and never cut directly on the surface with a blade.
9. Add Warm Light: Battery Motion Nightlight + LED Strips
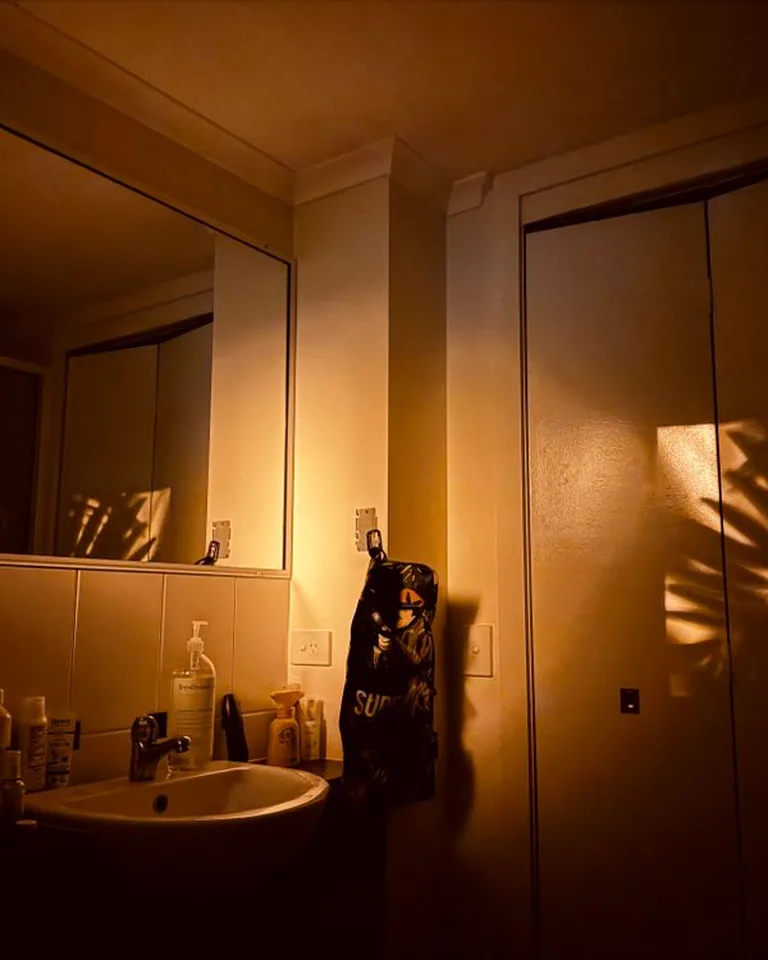
Rental bathrooms typically have one harsh overhead bulb. A battery motion-sensor nightlight ($10–$15) fixes the 2 a.m. problem without touching a fixture, and a battery LED strip tucked under the floating vanity or along the mirror’s bottom edge ($15–$25) adds the warm glow that makes a bathroom feel like a spa instead of a cell. Cost: $25–$40 total. Time: 15 minutes. Deposit safety: total.
Stick with warm white (2700–3000K) — cool white LEDs in a bathroom read as clinical. Motion sensors with a dusk-to-dawn mode stay off in daylight and sip battery, so a set of AAs lasts months. Mount the strip where the diodes themselves are hidden — under a vanity lip, behind the mirror’s edge — so you see the glow, not the dots. Also swap the overhead bulb for a warm LED and keep the original in your labeled bag.
10. Over-Door Hooks and a Freestanding Storage Tower
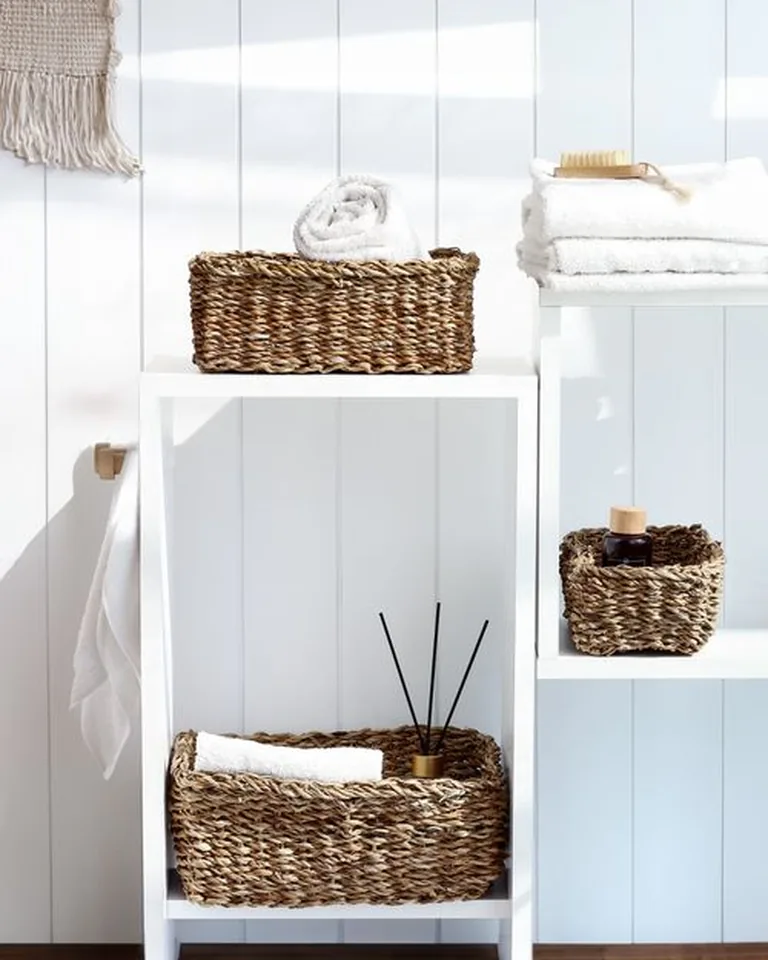
Rental baths are chronically short on storage, and drilling into tile for shelves is a deposit risk. An over-door hook rack ($15–$30) adds towel and robe storage in seconds, and a slim freestanding tower or rolling cart ($40–$90) beside the vanity holds everything the medicine cabinet can’t. Cost: $55–$120. Time: 10 minutes. Deposit safety: total.
Choose a rack with rubber or foam padding where it meets the door so it doesn’t scuff paint, and check your door’s thickness — most racks fit standard interior doors but struggle with very thick or very thin ones. For the tower, measure the gap beside your vanity before buying; 8–10 inch slim towers slide into dead space you’d never otherwise use. Everything here moves with you to the next apartment, which makes it the rare upgrade with zero sunk cost.
11. Refresh Tile Grout With a Grout Pen
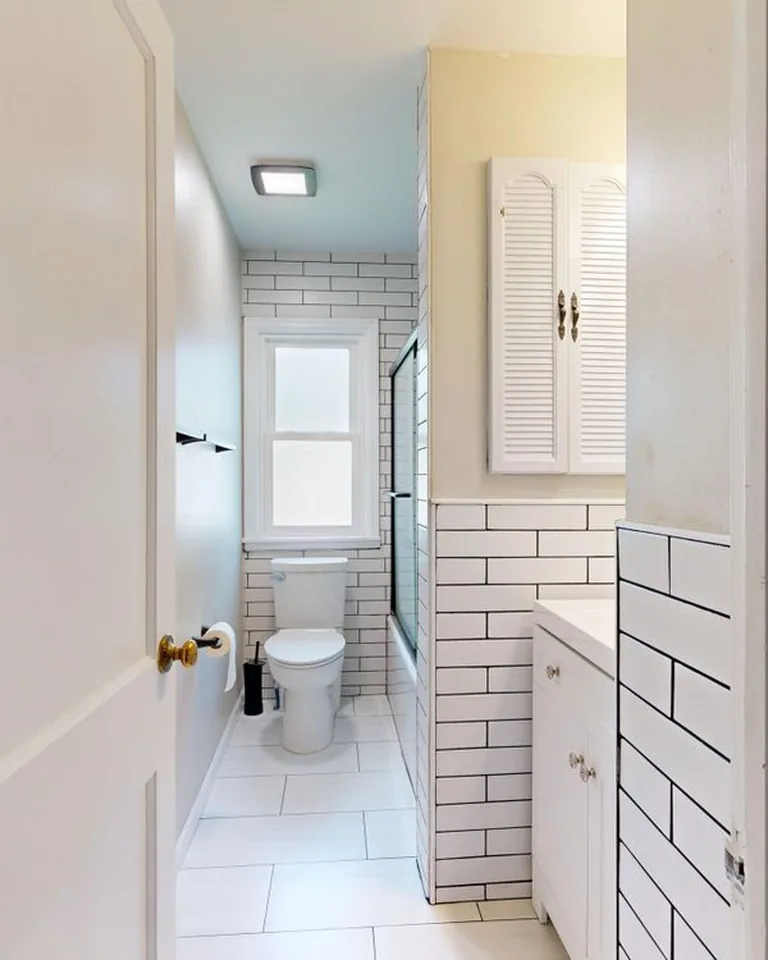
Nothing ages a bathroom faster than gray, dingy grout lines — and nothing refreshes it cheaper than a grout pen. A $10 marker that matches your grout color paints clean lines over stained ones in about an hour for a typical shower surround. Cost: $8–$15. Time: 1 hour. Deposit safety: high (it’s cosmetic, not structural).
Scrub the grout with a brush and mild cleaner first and let it dry completely — the pen adheres to clean grout, not soap film. Test the color match in a hidden spot; “white” grout pens can read stark against aged off-white grout. Use steady, even strokes and wipe mistakes immediately with a damp cloth. Inside the shower the finish wears faster, so expect to touch it up yearly — still vastly cheaper and less invasive than regrouting.
12. Hide Ugly Floors With a Washable Rug or Vinyl Floor Cloth
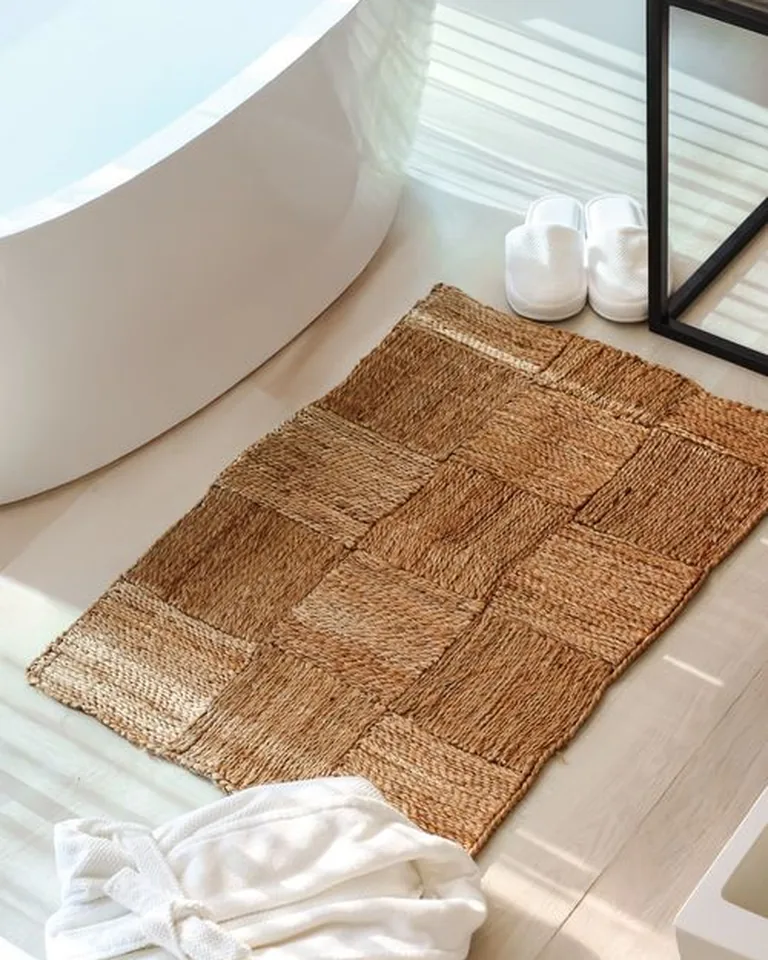
If peel-and-stick tiles feel like too much commitment, a washable bath rug or vinyl floor cloth covers the worst of dated flooring in sixty seconds. Floor cloths — vinyl printed to look like tile, laid like a rug — are the sleeper pick: they handle splashes, wipe clean, and roll up at move-out. Cost: $25–$70. Time: 5 minutes. Deposit safety: total.
Size matters more than pattern: the rug should sit fully in front of the vanity and extend past the tub or shower entry without bunching under the door swing. Machine-washable is non-negotiable in a bathroom — anything that can’t be washed becomes a mildew project. A rug with a non-slip backing (or a separate non-slip pad) keeps it from migrating across slick tile.
13. The Styling Layer: Hotel Towels, Eucalyptus, and a Vanity Tray
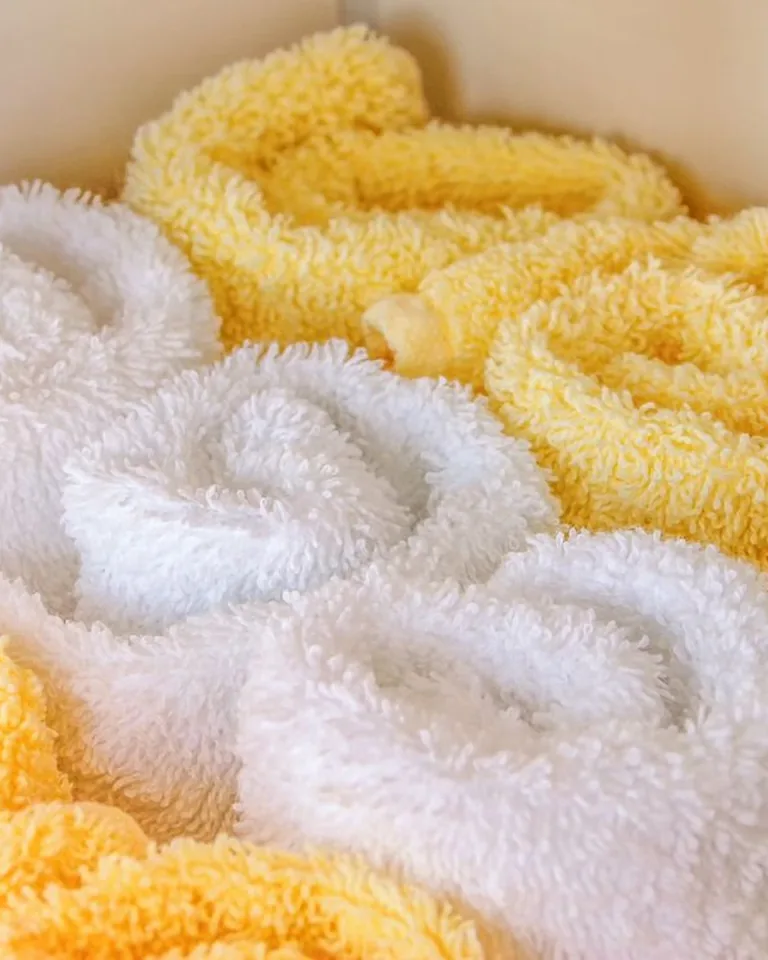
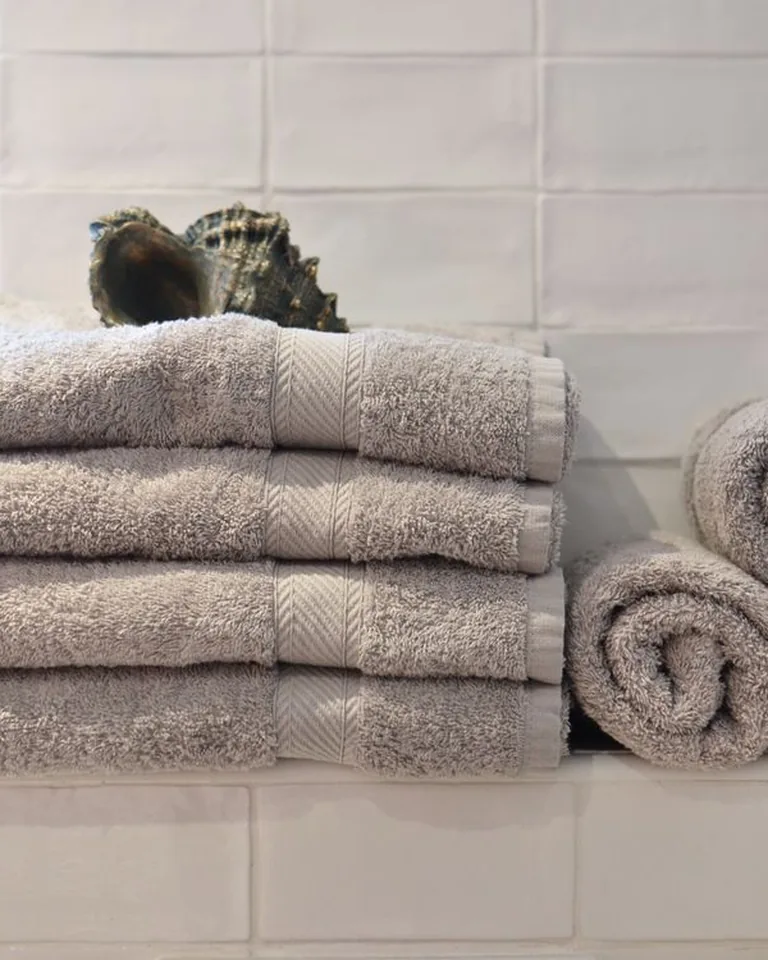
Here’s the secret most makeover lists skip: after the functional upgrades, a $40 styling layer is what makes the room photograph renovated. Matching white or cream towels folded hotel-style, a $8 bundle of eucalyptus hung from the showerhead (it releases scent in the steam), and a small tray corralling the soap dispenser, toothbrush holder, and a candle on the vanity. Cost: $30–$50. Time: 15 minutes. Deposit safety: total.
Decant everything. Mismatched product bottles are visual clutter; a $12 set of matching pump bottles turns the same products into decor. The tray is the key move — it converts a scattered countertop into one intentional vignette and makes daily wipe-downs faster. If you love texture in small rooms, our neutral bathroom tile texture ideas show how layered neutrals keep a bath calm instead of flat.
14. Adhesive Corner Caddy + Tension-Rod Shelf Over the Toilet
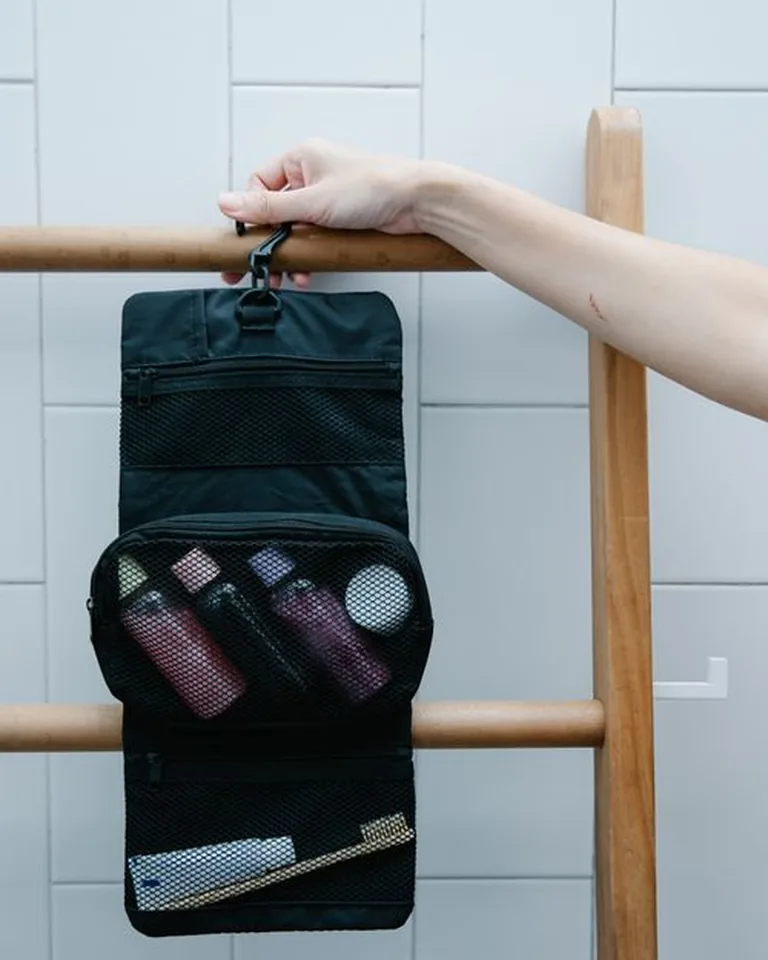
Shower storage without drilling comes in two flavors: a rustproof adhesive or suction caddy inside the shower ($15–$30), and a tension rod mounted across the alcove above the toilet holding lightweight baskets ($20–$35). Together they solve the two most common rental-bath complaints — nowhere for shampoo, nowhere for spare toilet paper. Cost: $35–$65. Time: 30 minutes. Deposit safety: high.
For adhesive caddies, prep is everything: clean the tile with rubbing alcohol, press firmly, and wait the full cure time before loading — most failures are impatience, not product. Choose stainless steel or coated aluminum so rust never becomes a stain you owe for. Re-seat suction cups every couple of weeks, since steam and soap film gradually loosen the seal. Keep loads light and balanced; these are for daily-use items, not bulk storage.
15. Frosted Window Film and a Suction Privacy Shade
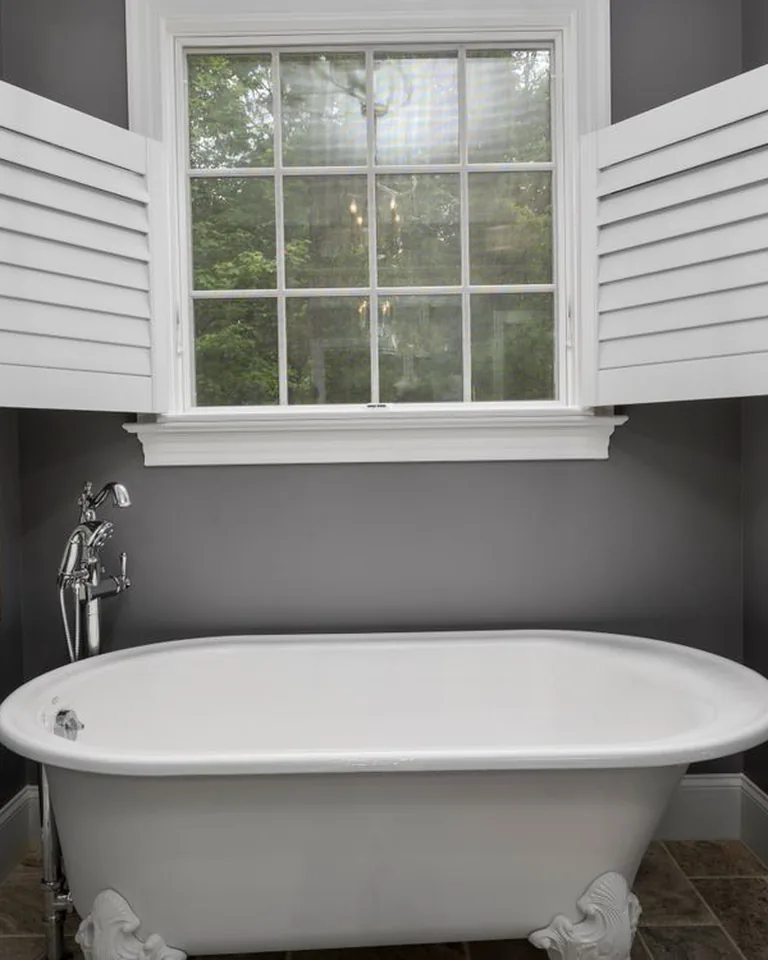
Ground-floor rental bathrooms often have a window with a flimsy blind and zero privacy. Static-cling frosted window film ($10–$20) applies with water and a squeegee, diffuses the light beautifully, and peels off with no residue — no adhesive at all. Cost: $10–$35. Time: 30 minutes. Deposit safety: total.
Measure twice and cut once, leaving a ⅛-inch margin at the frame so the film never overlaps the seal. Work from the top down, squeegeeing water and air outward as you go — the water is the adhesive, so more even wetting means fewer bubbles. For bedrooms-with-windows rentals, a suction-cup blackout shade over the film handles early-morning light without a single screw. The frosted film also flatters: diffused daylight is the most forgiving light a small bathroom can have.
What Renters Should Never Touch (Call the Landlord Instead)
Knowing the boundary is as important as knowing the upgrades. Don’t touch anything behind the walls or under the floors: supply lines, drain assemblies, the toilet’s internal mechanisms, and the exhaust fan’s wiring. Don’t re-caulk the tub or shower unless your landlord asks you to — failed DIY caulk causes water damage you’ll be liable for, and old caulk often contains the only thing keeping water out of the subfloor. Don’t paint tile or the tub with “miracle” refinishing kits; the fumes are serious, the finish chips within a year, and landlords charge full professional remediation for it. And don’t remove the existing mirror if it’s glued to the wall — hang over it instead, as idea 6 shows.
If something is genuinely broken — a leaking faucet, a dead exhaust fan, mold behind caulk — that’s a maintenance request, not a DIY project. Document it in writing, with photos. Landlords are legally responsible for habitability repairs in most US states, and a paper trail protects you if the issue worsens.
Budget Reality Check: What $300 Actually Buys
Stacked together, the core transformation — floor tiles ($90), one wallpapered wall ($60), showerhead ($35), layered curtains ($60), hardware ($35), and the styling layer ($40) — lands around $320 and one focused weekend. That’s the package that photographs like a renovation. On a tighter budget, start with the shower curtain swap, the styling layer, and the grout pen: under $75 total, about two hours, and the room already feels cared-for rather than neglected.
Whatever you spend, spend it on things that move with you — the showerhead, the textiles, the storage, the lighting — and go cheapest on the things that stay behind, like the floor tiles. And if your rental bath leans colorful rather than neutral, our small green bathroom ideas and navy vanity ideas show how to work with bold existing finishes instead of fighting them.
Frequently Asked Questions
How can I update my bathroom without renovating it?
Focus on the five surfaces that define the room: floors (peel-and-stick tiles or a washable rug), walls (one removable-wallpaper accent wall), the shower (layered curtains on a tension rod), fixtures (swapped showerhead and hardware, originals kept), and lighting (warm LED strips and a motion nightlight). Those five moves change every visible surface without touching plumbing, tile, or anything structural.
What is the cheapest way to refresh a bathroom?
A new shower curtain and liner, a grout pen for the tile lines, matching pump bottles to replace cluttered product packaging, and a washable rug — all together under $75. Paint isn’t an option in most rentals, so textiles and surface refreshers do the visual work that a $15 gallon of paint would do for a homeowner.
Can I hang artwork in a bathroom?
Yes, with two precautions: keep it away from direct splashes (the wall opposite the shower, not beside it), and choose frames that handle humidity — sealed wood, metal, or acrylic rather than raw canvas or valuable paper prints. Damage-free adhesive strips rated for bathrooms hold light frames without holes. In a steamy bath without an exhaust fan, stick to inexpensive prints you won’t mourn.
How can I remodel my bathroom for $1,000?
Easily, without touching anything structural: peel-and-stick floors ($90), a wallpapered accent wall ($60), a new showerhead ($40), layered curtains ($60), swapped hardware ($40), a framed mirror hung over the old one ($60), LED and nightlight upgrades ($35), storage ($80), a grout refresh ($12), and the styling layer ($45) total roughly $520 — leaving budget for better-quality materials or a second bathroom. The expensive parts of a real remodel are labor, plumbing, and tile; skipping all three is what keeps this under four figures.
What bathroom updates can I complete in a weekend?
Nearly everything on this list. A realistic weekend plan: Saturday morning for floor tiles, Saturday afternoon for the wallpaper wall and backsplash sheets, Sunday morning for the showerhead, curtains, and hardware, Sunday afternoon for the grout pen, lighting, and styling. The only thing to avoid rushing is adhesive cure times — mount caddies and mirror strips Saturday so they’re load-bearing by Sunday.
A rental bathroom doesn’t need a contractor, a permit, or your landlord’s renovation budget — it needs the right surface-level moves in the right order. Start with the floors and the shower curtain, add the styling layer, and photograph everything for move-out day. The room will feel like yours while you live there and look untouched when you leave, which is exactly what a renter-friendly makeover is supposed to do.