
Studio Bedroom Makeover Ideas You Can Finish in One Weekend
A studio bedroom makeover does not need a renovation, a big budget, or a contractor. It needs a weekend, a clear plan, and a few moves that make the sleeping corner feel like a real bedroom instead of a bed sitting in the middle of your living space. Every idea below is renter-friendly, reversible, and finishable between Friday night and Sunday evening.
The fastest way to get there is to work in order: Friday night you clear and measure, Saturday you move furniture and build the zones, and Sunday you style, light, and finish. Start with the biggest decision first, the bed’s position, because everything else hangs off it. If your studio storage is already overflowing, sort that before you decorate, since no amount of styling fixes clutter you can see from the sofa. Our guide to studio bedroom storage ideas covers the storage side of this same problem.
Your weekend game plan
Friday night: empty the surfaces around the bed, measure the bed wall and the walkways, and decide which corner the bed moves to. Saturday: move the bed, set up your divider, hang the bed-wall treatment, and swap the lighting. Sunday: dress the bed, place the art, add the seat and the dressing corner, and do a final reset. Keep about 24 inches of clear floor along the open side of the bed so the room still feels walkable, not cramped.
1. Move the Bed to the Quiet Corner First
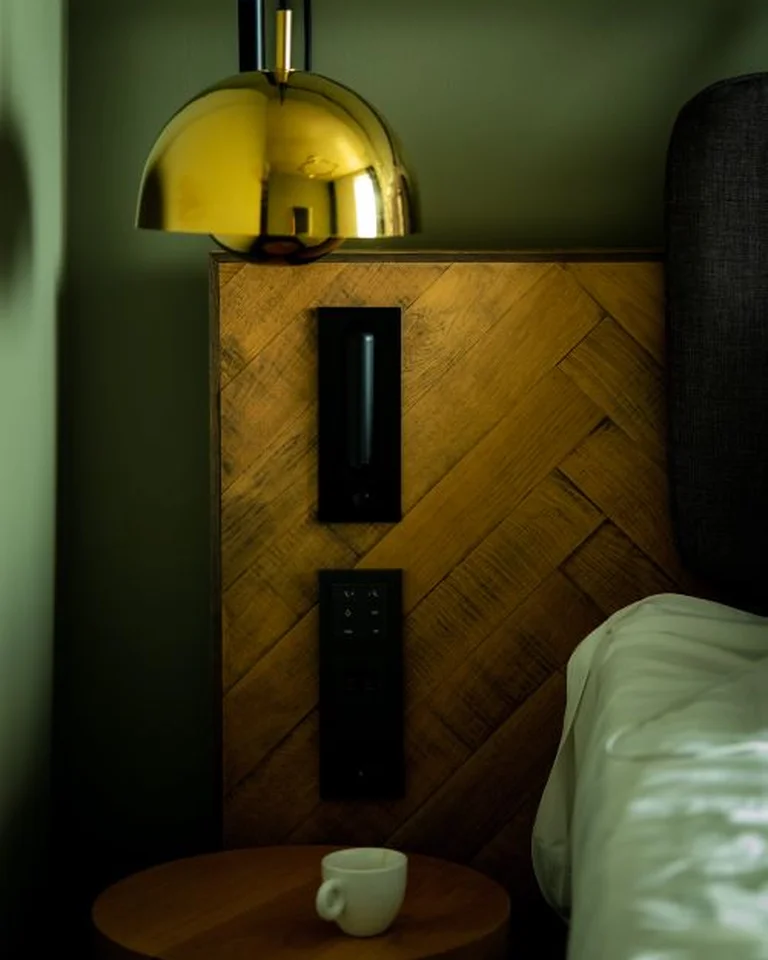
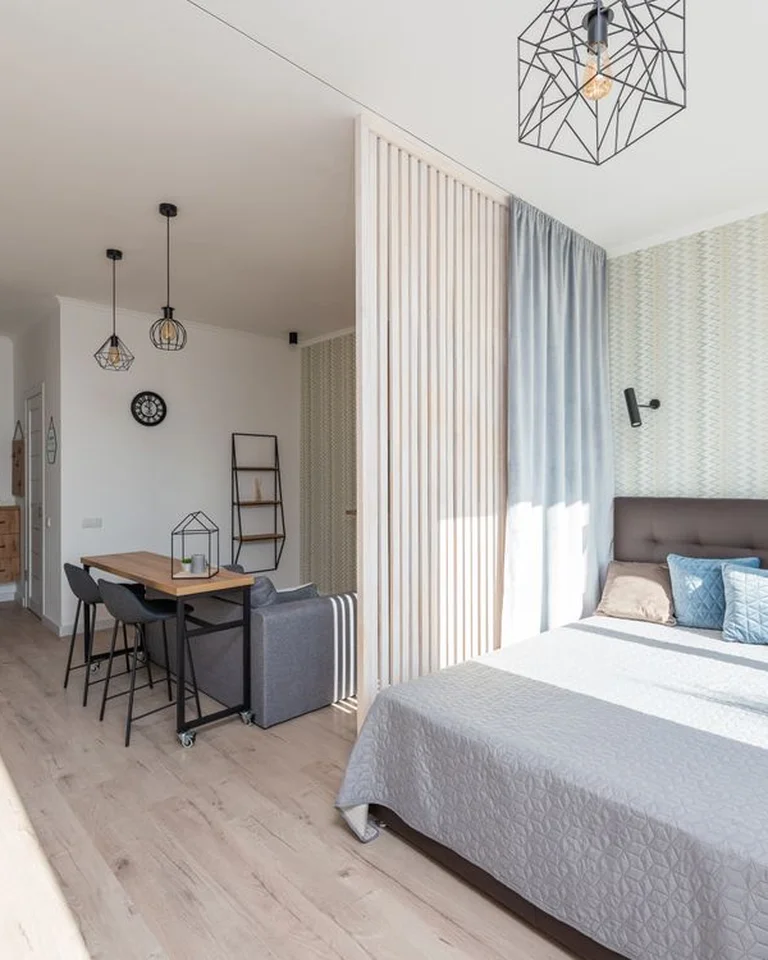
Before you buy a single thing, move the bed to the corner farthest from the front door. That one move does three jobs at once: it gets the bed out of the sightline when you walk in, it frees the center of the room for living space, and it gives you two walls to anchor the sleeping zone. Push the head against one wall and one side against the other, then check that you can still walk around the open side without shuffling sideways.
This matters more than any decor item because a bed floating in the middle of a studio always reads as a studio, while a bed in a corner reads as a bedroom. If your corner has the window, even better: morning light lands on the bed, and the rest of the room stays open. Once the bed is placed, every other idea below gets easier to position.
2. Style the Bed Like a Daybed for Daytime Living
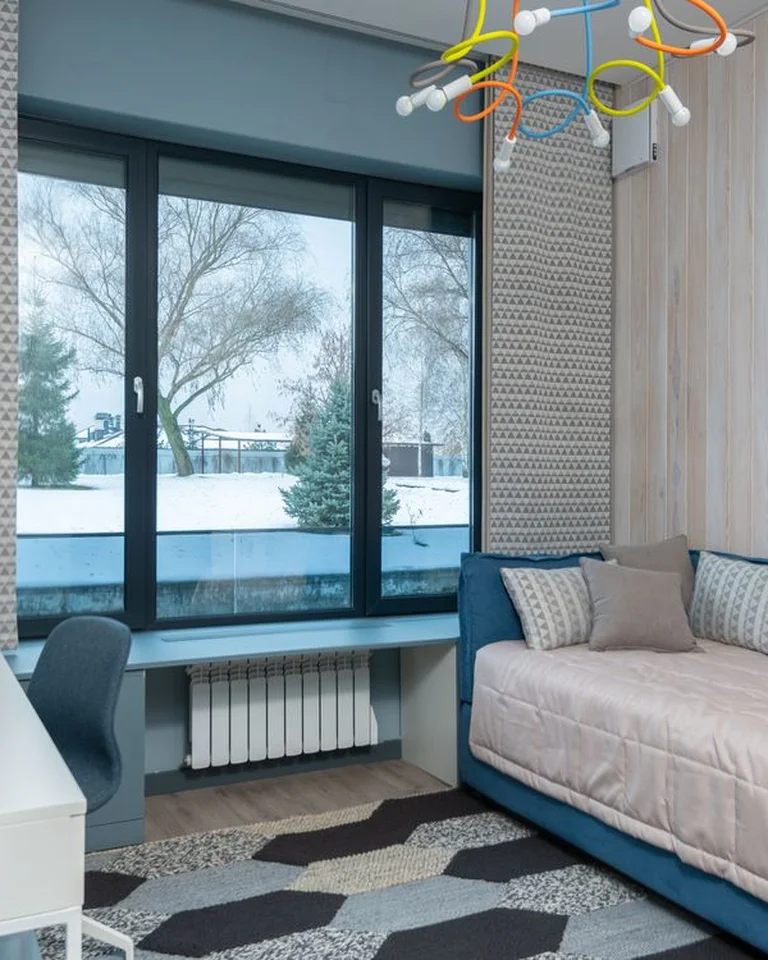
In a studio, the bed is visible all day, so dress it to look good at noon, not just at midnight. Push it against the wall, stack sleeping pillows flat, then layer two or three larger Euro-style pillows upright in front of them and finish with a folded throw across the foot. Suddenly the bed reads as a deep lounge seat rather than an unmade sleeping spot.
The trick is keeping the layers simple: one neutral duvet, one accent color repeated in the pillows and throw, and nothing that needs more than two minutes to put back at night. When guests come over, you have extra seating. When bedtime comes, you move two pillows and you are done. It is the single cheapest way to make a studio feel intentional during the day.
3. Stand Up a Folding Screen You Can Move Anytime
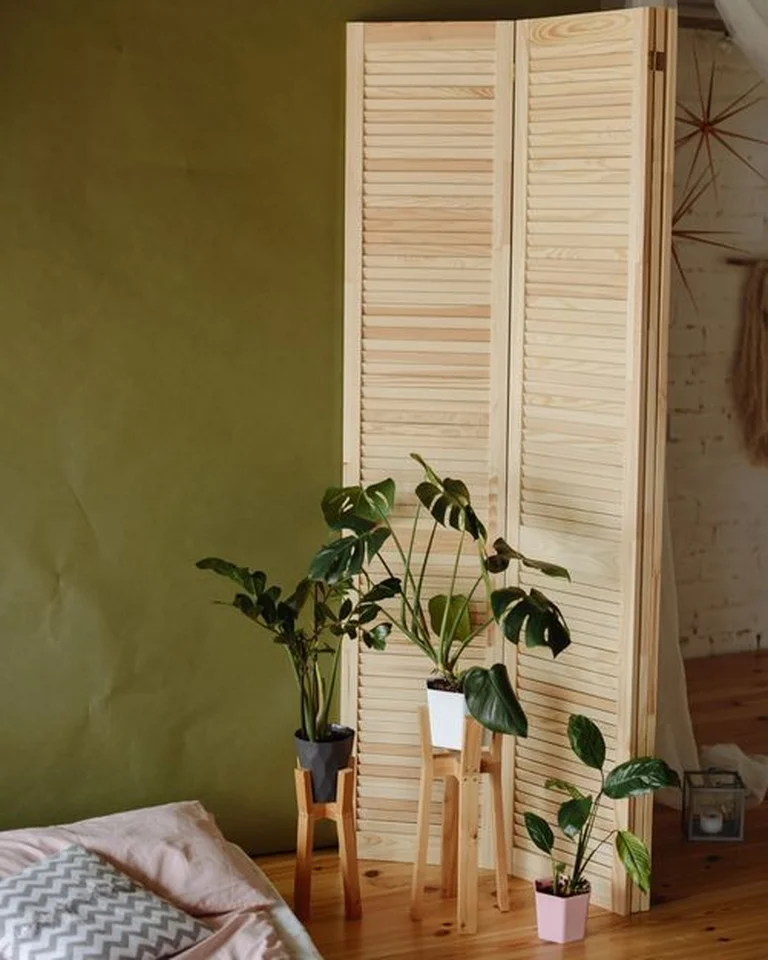
A folding screen is the lowest-commitment divider there is: no drilling, no ceiling track, no landlord permission. Set it at the foot or along the open side of the bed, angle it slightly instead of placing it dead straight, and it creates a visual wall that still lets air and light move around it. Choose a light wood or cane screen so it adds warmth without making the room feel boxed in.
The advantage over a fixed divider is flexibility. Fold it away when you want the open plan back, move it to hide the bed when guests arrive, or use it to block the view of the kitchen from the pillow. If floor space is tight, a three-panel screen angled into a corner takes up less room than a straight one and looks more deliberate.
4. Let a Tall Open Bookshelf Do the Dividing
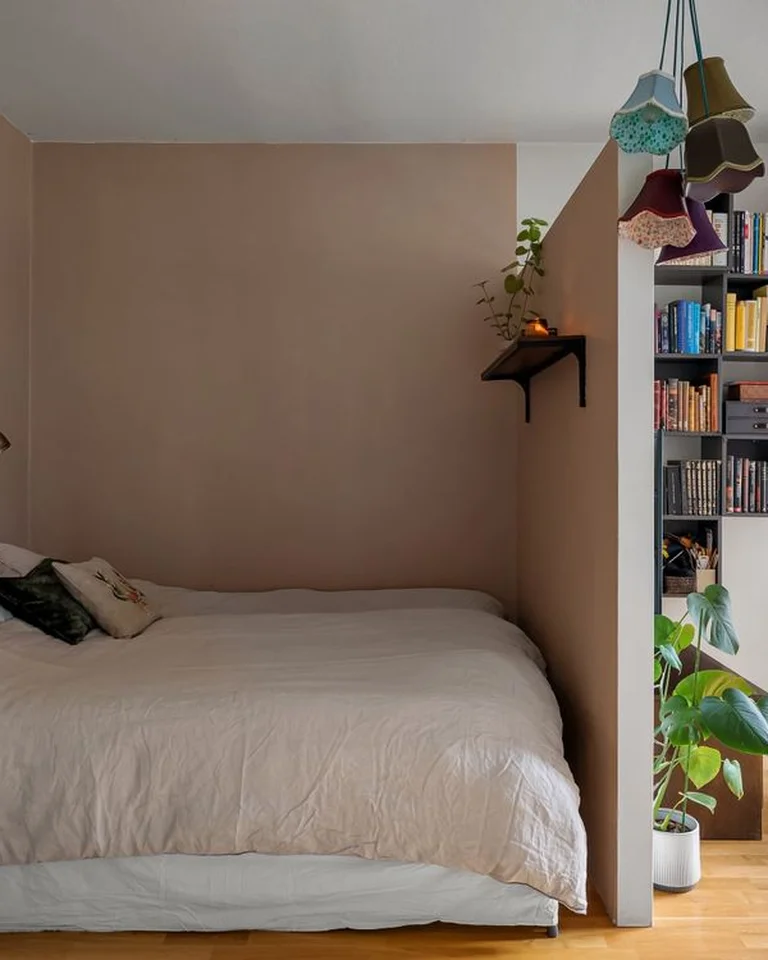
If you need storage as much as separation, a tall open bookshelf is the hardest-working divider in a studio. Place it perpendicular to the wall at the end of the bed, so it forms a partial wall between the sleeping zone and the living area. Because it is open on both sides, light still passes through and the room does not go dark.
Style it with restraint: books, a few baskets for the messy stuff, and one plant per shelf at most. Leave some compartments partly empty, or the shelf turns into a wall of clutter. Anchor it to the wall with an anti-tip bracket, which matters even more in a small space where you brush past furniture daily. You get a divider, a bookcase, and a nightstand surface in one piece, which is exactly the kind of multitasking a studio rewards. For more ways to keep that storage invisible, see our small bedroom storage ideas to hide clutter.
5. Warm Up the Bed Wall with Peel-and-Stick Wood Slats
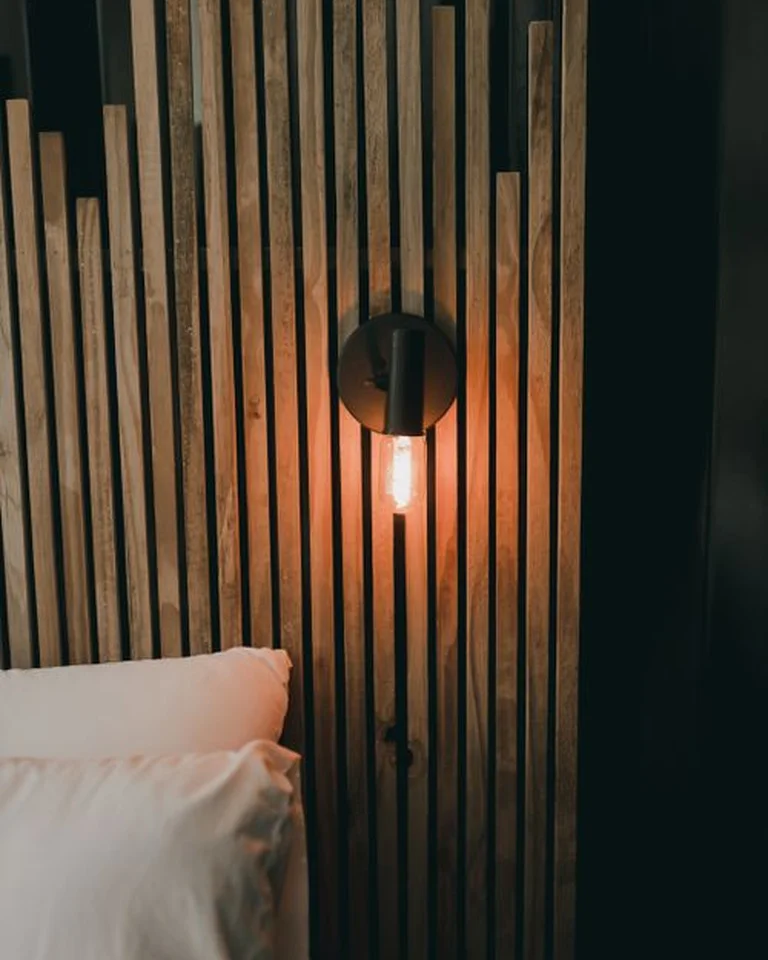
A plain bed wall is why many studios feel unfinished, and peel-and-stick wood slats fix it in an afternoon without paint or damage. Apply the slats vertically behind the bed, from the headboard height up to about two-thirds of the wall, and the bed wall instantly reads as a designed headboard zone. The vertical lines also pull the eye upward, which helps a low ceiling feel taller.
Pick a warm oak or walnut tone that matches your floor rather than fighting it, and press each slat firmly from the center outward so no edges lift. If your lease is strict, test one slat in a hidden spot first and keep the backing strips so removal is clean. This is one of those weekend projects where the before-and-after difference is far bigger than the effort suggests.
6. Layer Three Pools of Light Instead of One Overhead

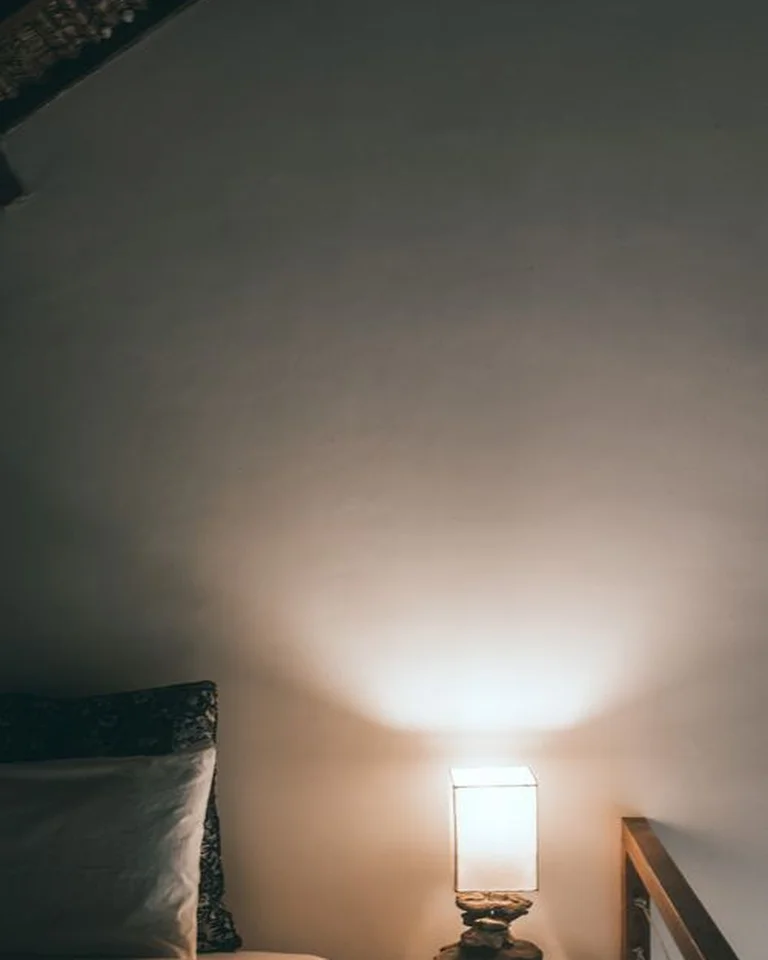
Nothing flattens a studio faster than a single ceiling light blasting the whole room at once. Instead, build three separate pools of light: a small bedside lamp or clip light for reading, a warm floor or table lamp for the living side, and one soft accent like a battery puck light inside the bookshelf divider. When the pools are separate, each zone feels like its own room after dark.
Use warm bulbs around 2700K for all three so the zones feel connected rather than competing. Put the bedside light on a dimmer or a smart bulb if you can, so the last light you see before sleep is low and warm. This is also the cheapest lighting upgrade in the article: two lamps and a puck light can cost less than one new ceiling fixture, and you never touch the wiring.
7. Trade the Nightstand for a Wall Ledge and Bedside Caddy
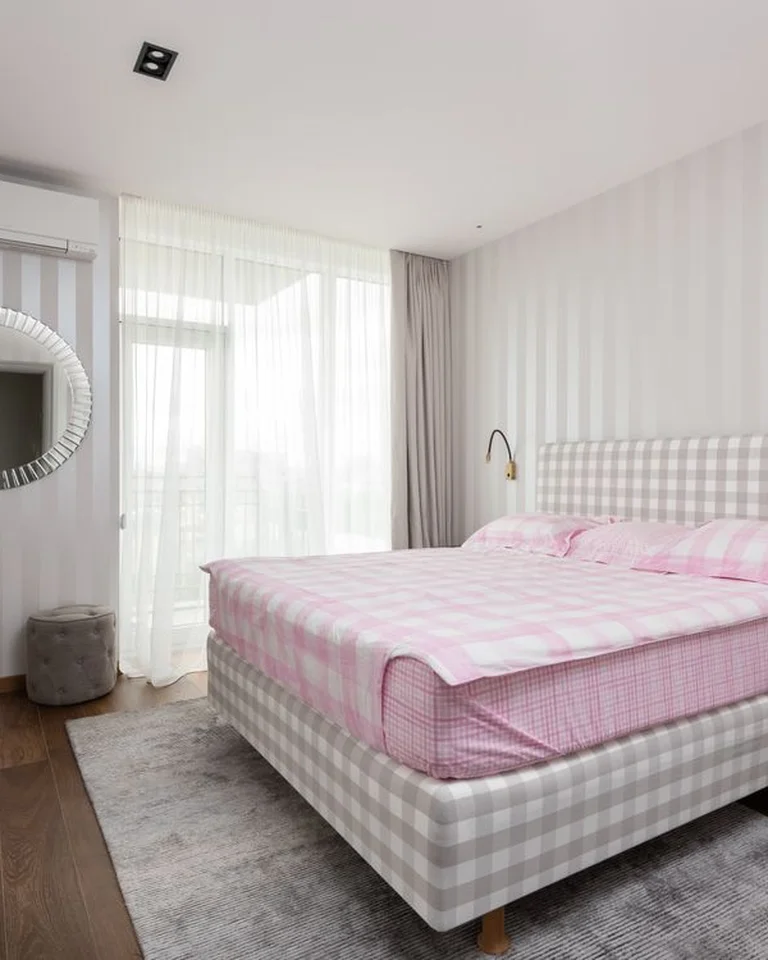
A traditional nightstand eats floor space a studio cannot spare. Mount a slim floating ledge at mattress height beside the bed for your phone, water, and book, and hang a fabric bedside caddy over the mattress edge for the charger and remote. You keep everything within reach and the floor stays clear, which makes the whole room feel bigger.
Mount the ledge with adhesive strips rated for the weight if you cannot drill, and keep it narrow, about 8 to 10 inches deep, so it does not jut into the walkway. The caddy is the unsung hero here: it holds the small things that usually end up scattered on the bed or the floor, and it moves with you if you rearrange. If you have no closet either, pair this with our no-closet bedroom ideas and wardrobe alternatives for the full storage picture.
8. Carve Out a Mini Dressing Corner
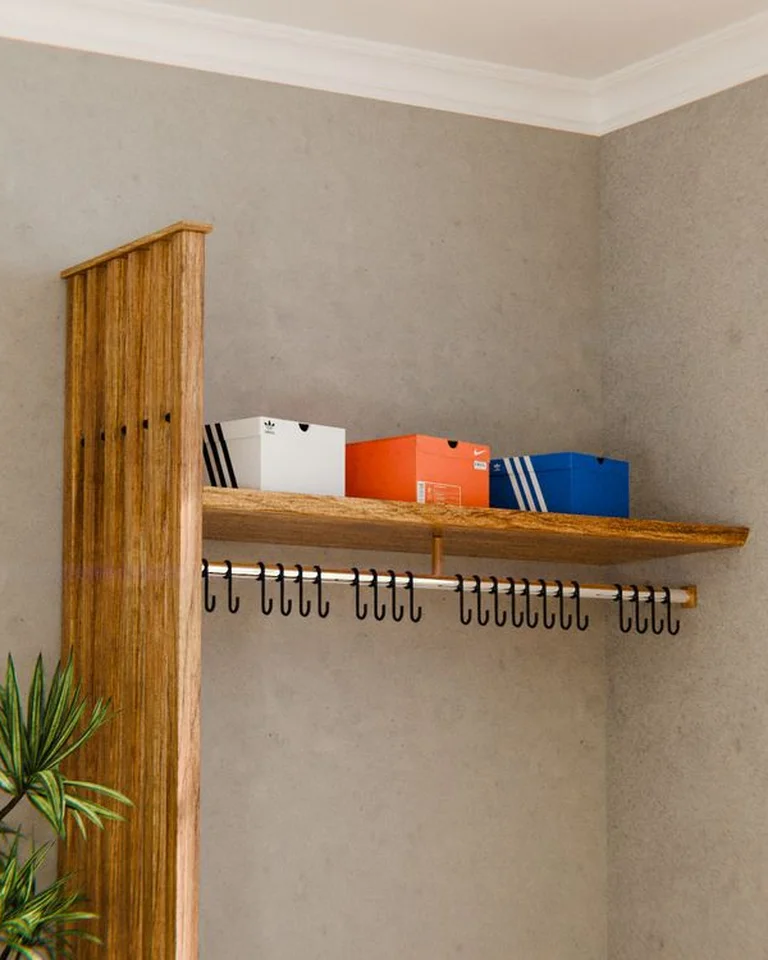
Studios rarely have a dressing area, so claim one: one corner, one leaning mirror, three wall hooks, and a small stool or tray for jewelry and tomorrow’s outfit. Hang the hooks at different heights so bags, a robe, and a hat each have a home, and keep the tray for the tiny things that otherwise migrate across every surface.
The point is not just storage, it is routine. When getting dressed has a dedicated spot, clothes stop living on the bed and the chair, and the bedroom zone stays tidy with less effort. Place the corner near the bed but not blocking the walkway, and if the mirror faces the window, it bounces daylight back into the room during the day.
9. Let a Low Dresser Pull Double Duty as Your Nightstand
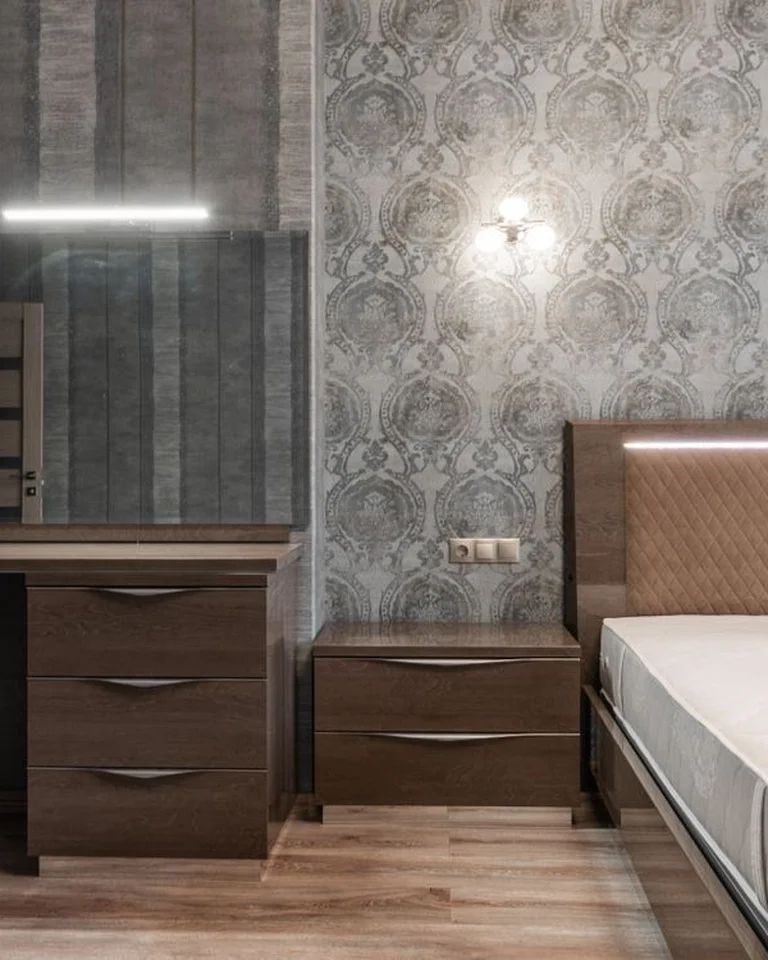
If a nightstand feels too small and a dresser feels too big, use one piece for both jobs. A low, wide dresser placed beside the bed holds folded clothes inside and serves as a nightstand on top, with room for a lamp, a book, and a glass of water. It gives you more storage per square foot than any nightstand, and its top is wide enough that nothing has to balance on an edge.
Keep the top to three things: lamp, one small tray, and one personal item. Anything more turns it back into a clutter magnet. This move works especially well in an awkward corner where a standard nightstand would look lost, and if your layout is tricky overall, our awkward layout bedroom decor pieces guide covers how to finish those odd spots.
10. Add a Storage Bench That Earns Its Floor Space
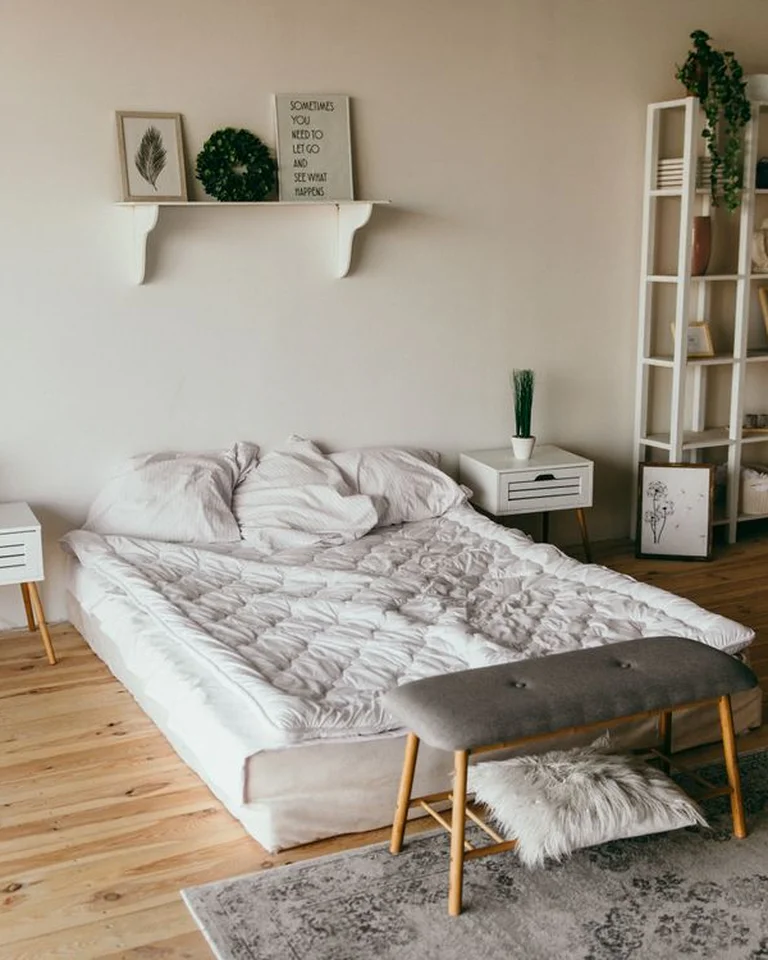
A bench at the foot of the bed is the one extra seat a studio can justify, because it also hides things. Choose one with a lift-up top or baskets underneath, and use it for off-season bedding, extra throws, or shoes. It gives you a place to sit while putting on shoes, a landing spot for tomorrow’s clothes, and a visual full stop at the end of the bed that makes the whole sleeping zone look finished.
Measure before you buy: leave at least 18 inches between the bench and any wall or furniture in front of it, or it becomes an obstacle instead of a seat. Upholstered tops in a washable fabric are the practical choice here, since this is the piece that gets sat on, draped over, and used as a luggage rack when guests visit.
11. Hang One Big Piece of Art Instead of a Gallery Wall

In a small room, a dozen small frames can read as visual noise, while one large piece gives the eye a single place to land. Hang one oversized print or canvas centered above the bed, about 6 to 8 inches above the headboard, and let it anchor the whole sleeping zone. One strong piece also costs less and takes less time than a full gallery wall, which is exactly what a weekend project needs.
Choose art with at least one color that already appears in your bedding so the room feels connected, and hang it with adhesive strips rated for its weight if drilling is off the table. If the piece is wider than two-thirds of the bed, it will look oversized in the wrong way, so aim for roughly two-thirds of the bed’s width. The result is a bedroom that looks designed rather than decorated one frame at a time.
12. End Sunday with a 10-Minute Nightly Reset Routine
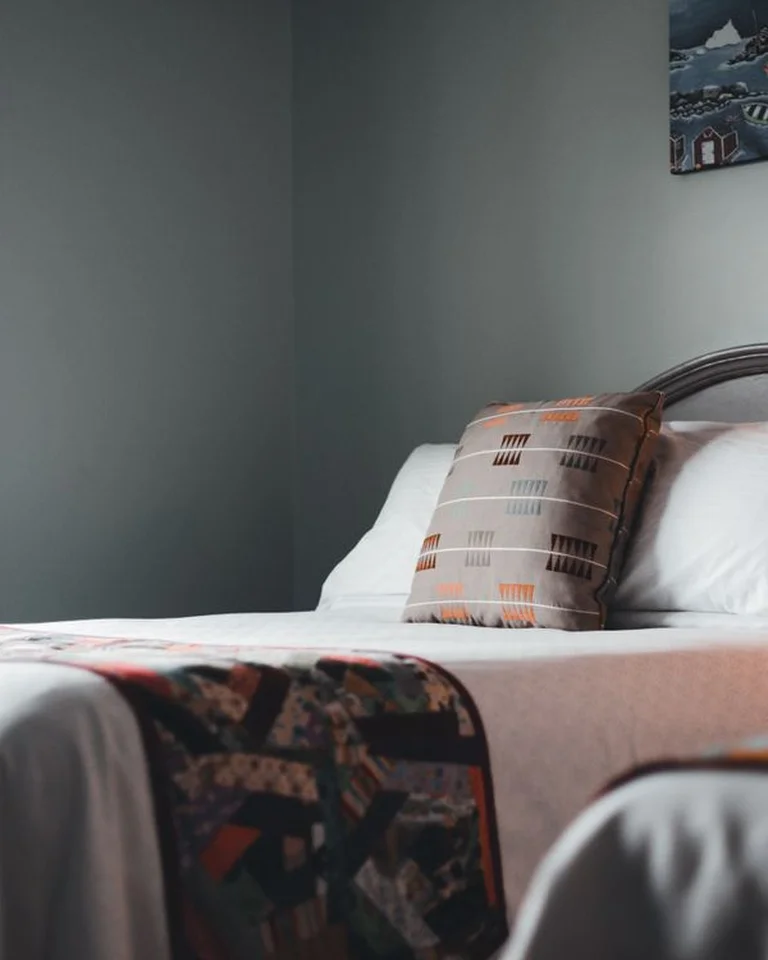
A makeover only looks like a makeover if it stays done, and in a studio that takes about ten minutes a night. Make the bed, return the daybed pillows to their daytime stack, clear the ledge and bench top, fold the screen if you opened it, and put tomorrow’s clothes on the dressing-corner hooks. That is the whole routine, and it is what keeps the zones reading as zones instead of sliding back into one cluttered room.
Do it at the same time every night, right before you switch the lights to the bedside pool only, so the ritual itself becomes the signal that the living room is closed and the bedroom is open. Studios reward small consistent habits more than big one-time efforts, and this one protects everything you built over the weekend. For a cohesive finish across the whole space, our studio bedroom design ideas for a cohesive look and apartment bedroom decor pieces for a finished look will help you tie the zones together.
Frequently asked questions
How do you divide a studio apartment without walls?
Use furniture and visual cues instead of construction: an open bookshelf, a folding screen, a large rug under the bed, and separate lighting for each zone. The combination of a divider plus a rug plus its own lamp is what makes a sleeping area read as a separate room.
Where should the bed be placed in a studio apartment?
In the corner farthest from the front door, with the head against one wall and one side against the other. This keeps the bed out of the entry sightline, frees the center of the room, and leaves about 24 inches of clear floor along the bed’s open side.
How do you decorate a studio apartment on a budget?
Start by rearranging what you already own, then spend on the highest-impact weekend moves: a folding screen or bookshelf divider, peel-and-stick wall slats, layered bedding, and warm lamps. Secondhand pieces and adhesive mounting keep costs down without damaging the walls.
How do I make my sleeping area feel cozy without closing it off completely?
Use warm lighting, textured bedding, a rug under the bed, and a darker or warmer tone on the bed wall. These cues signal a sleeping zone to your brain even without full enclosure, and because they are visual rather than structural, the room still feels open during the day.